Obsidian versioning with git and GitHub
An Obsidian vault can be versioned efficiently with git, as it consists mostly of markdown files. The right plugin automates committing and pushing to a remote. Here is how to do it with GitHub.
Set up the GitHub repository
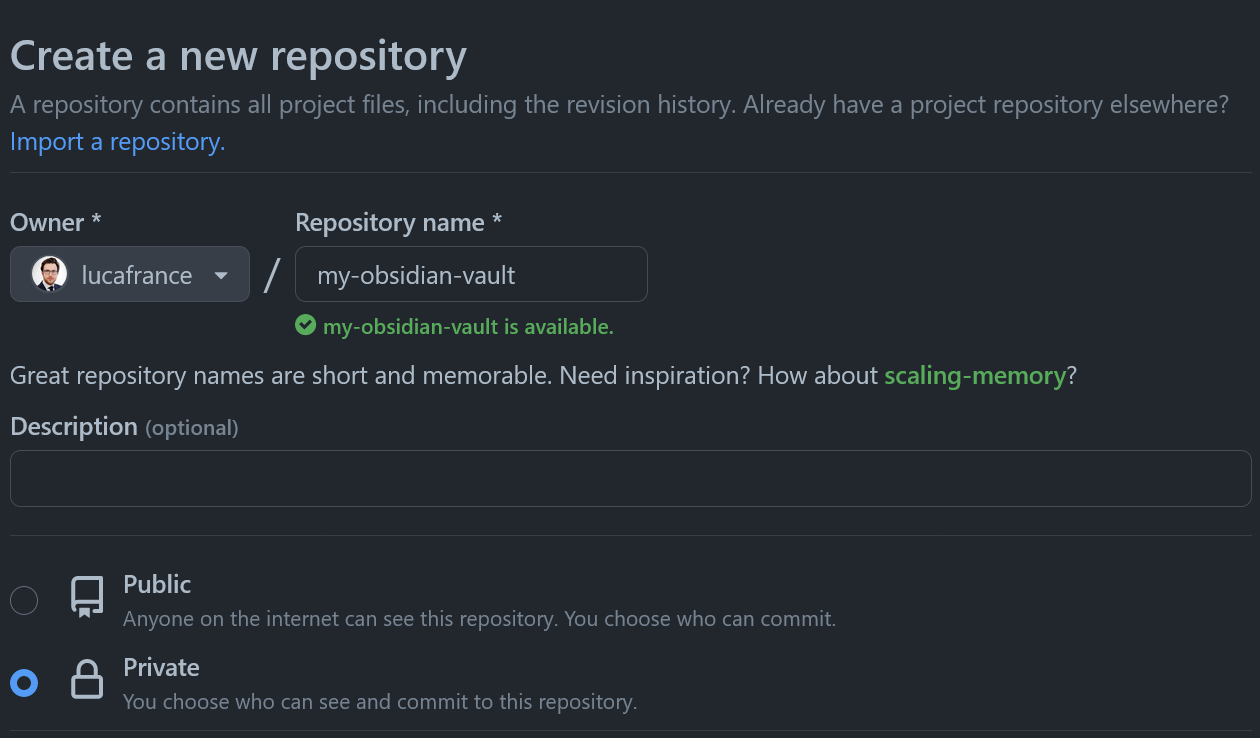
Create a new repository and set the visibility to private, unless you plan on sharing your obsidian vault with the internet.
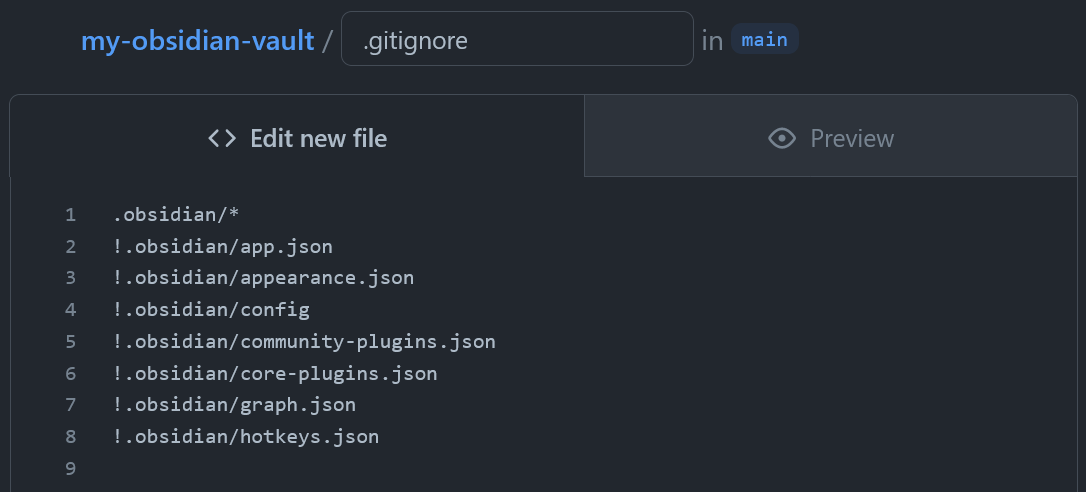
Commit a .gitignore file with the following lines.
The .gitignore is set up to ignore the whole .obsidian folder by default and only include explicitly mentioned configuration files.
.obsidian/*
!.obsidian/app.json
!.obsidian/appearance.json
!.obsidian/config
!.obsidian/community-plugins.json
!.obsidian/core-plugins.json
!.obsidian/graph.json
!.obsidian/hotkeys.json
Set up the Obsidian vault
Clone the repository you just created.
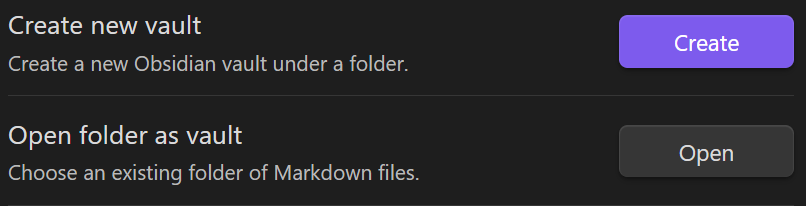
If you want to use an existing vault, move all files to the cloned repository (including the .obsidian directory), then open the vault in the new folder with Obsidian1.
If not, start a new vault in the folder of the repository.
Configure the plugin
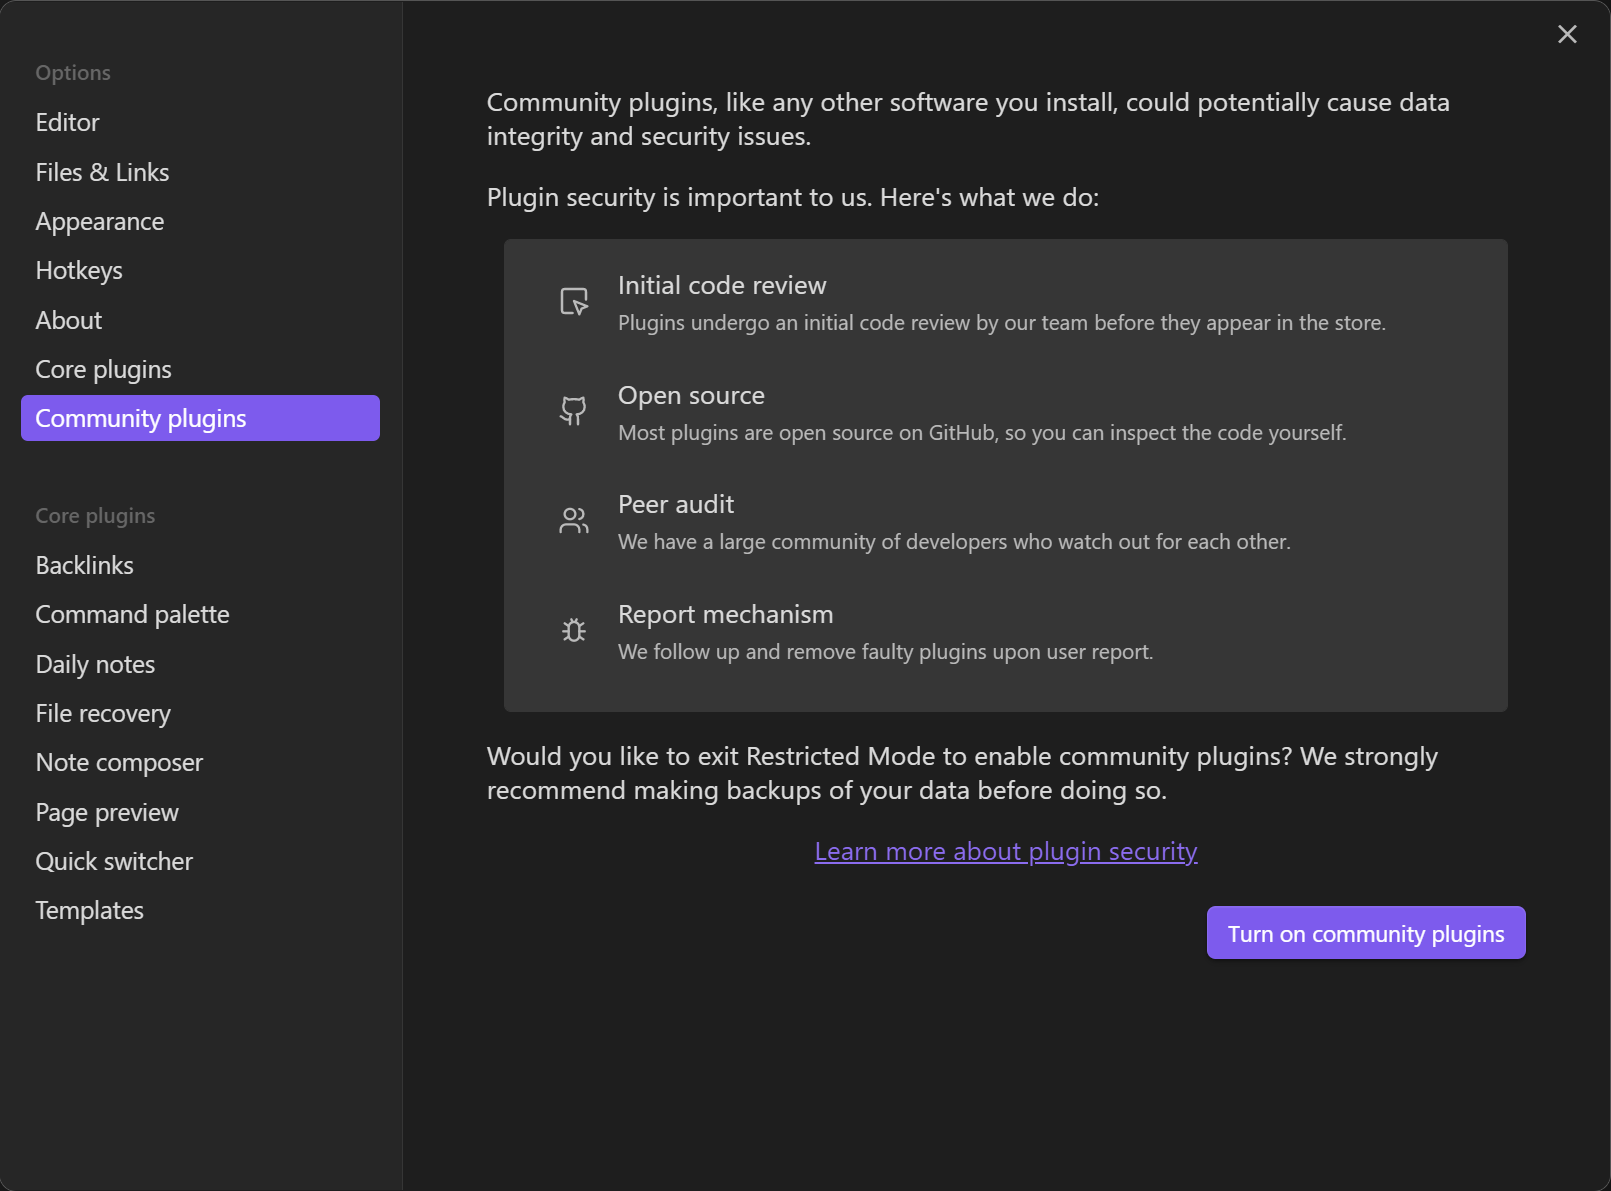
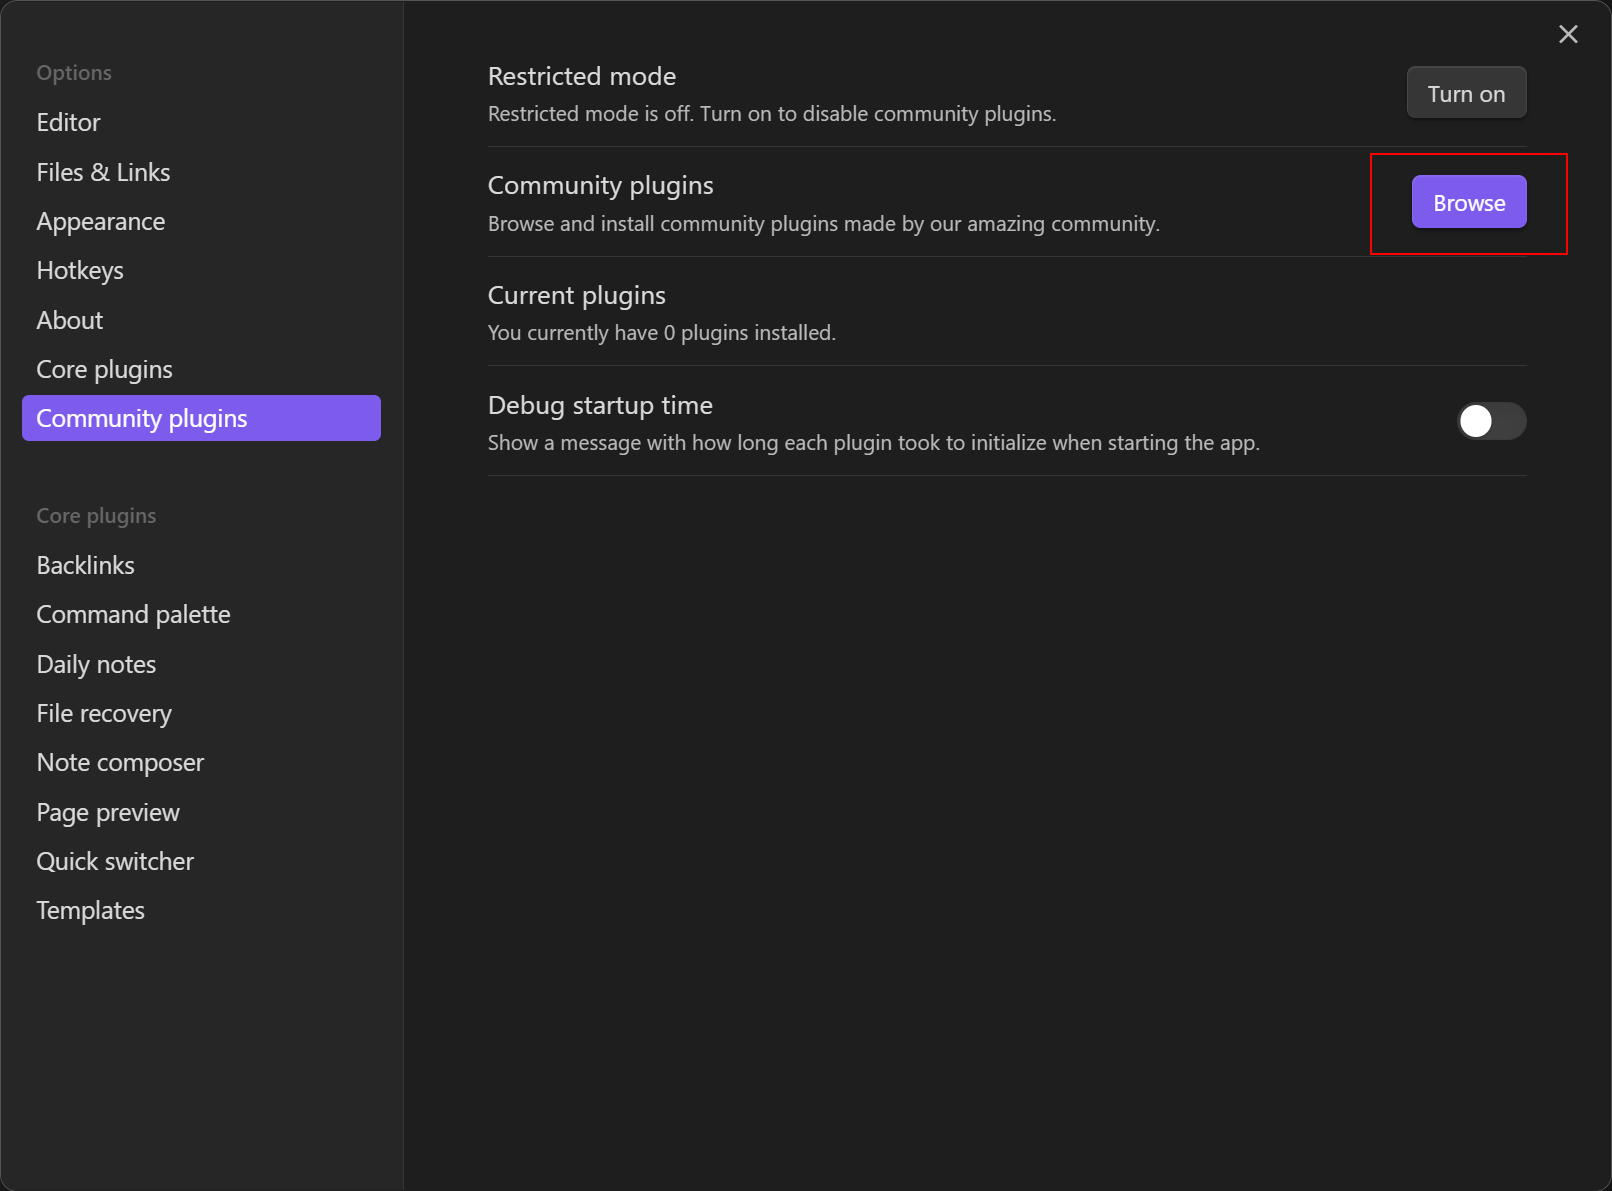
Go to Options > Community plugins. If necessary, turn on the community plugins.
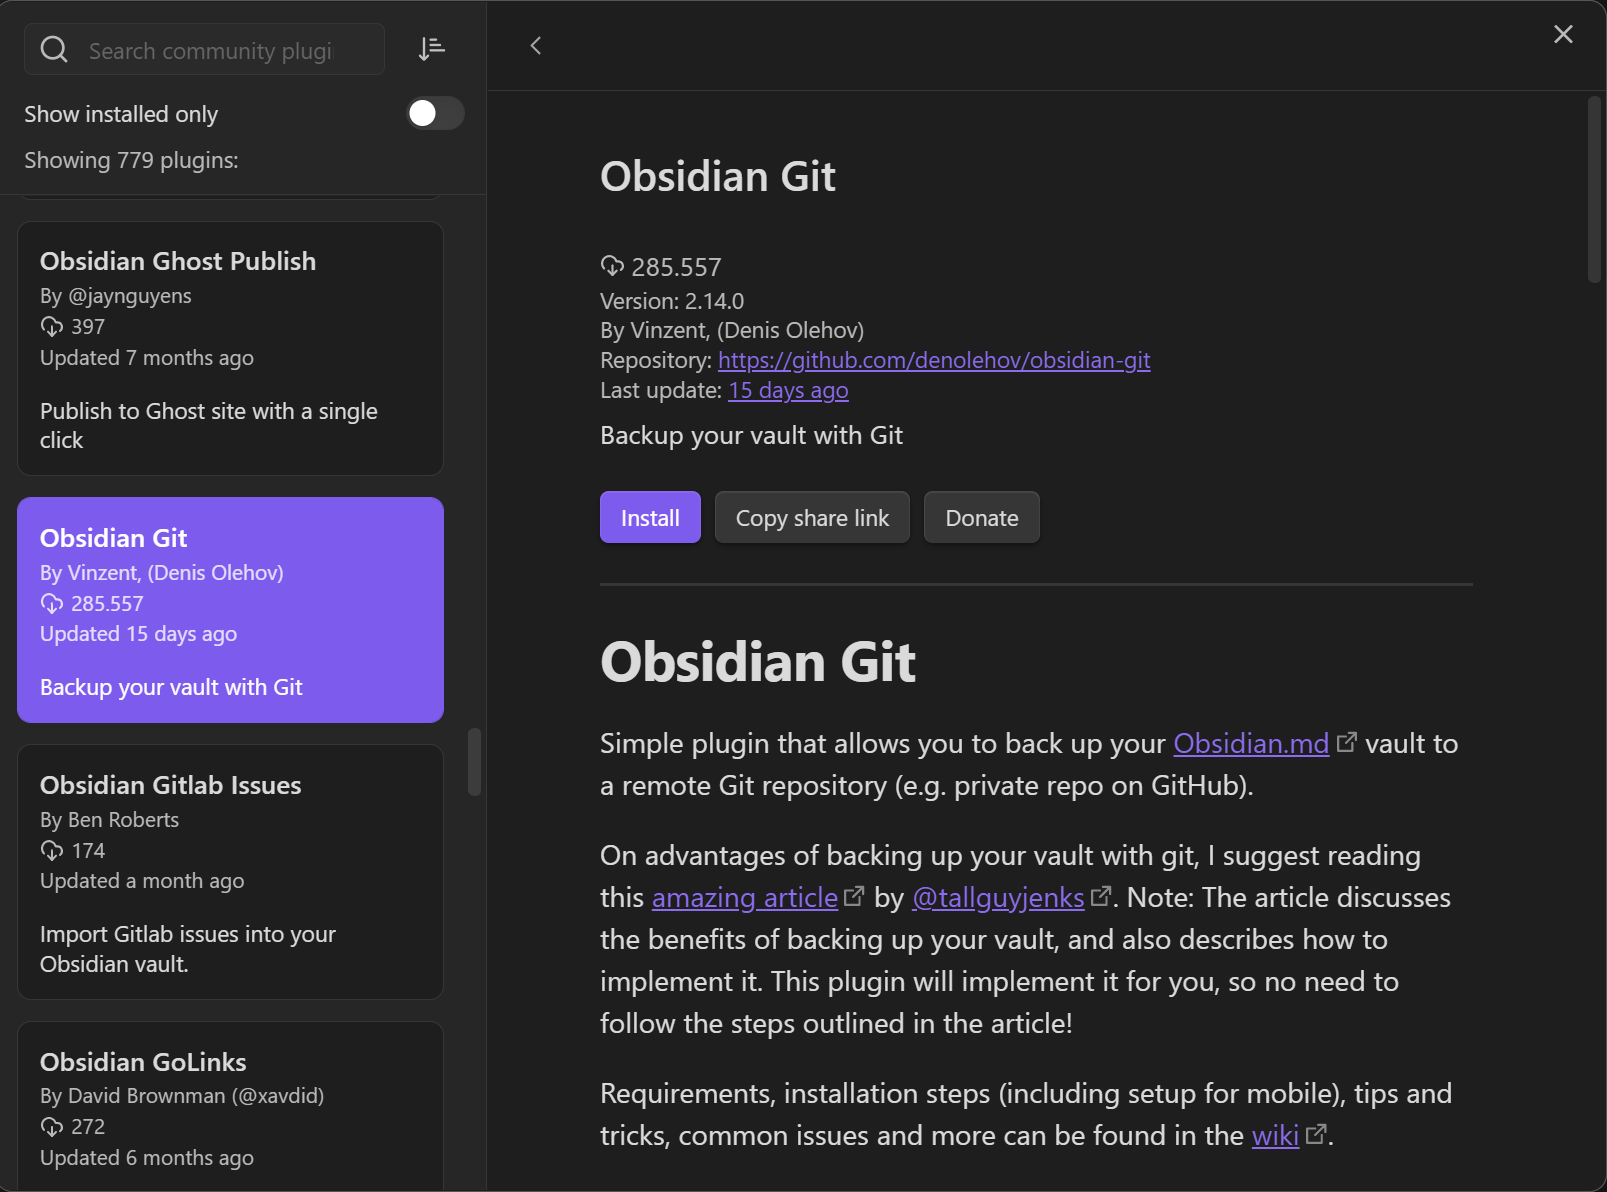
Click Browse, then install and enable the Obsidian Git plugin by Denis Olehov.
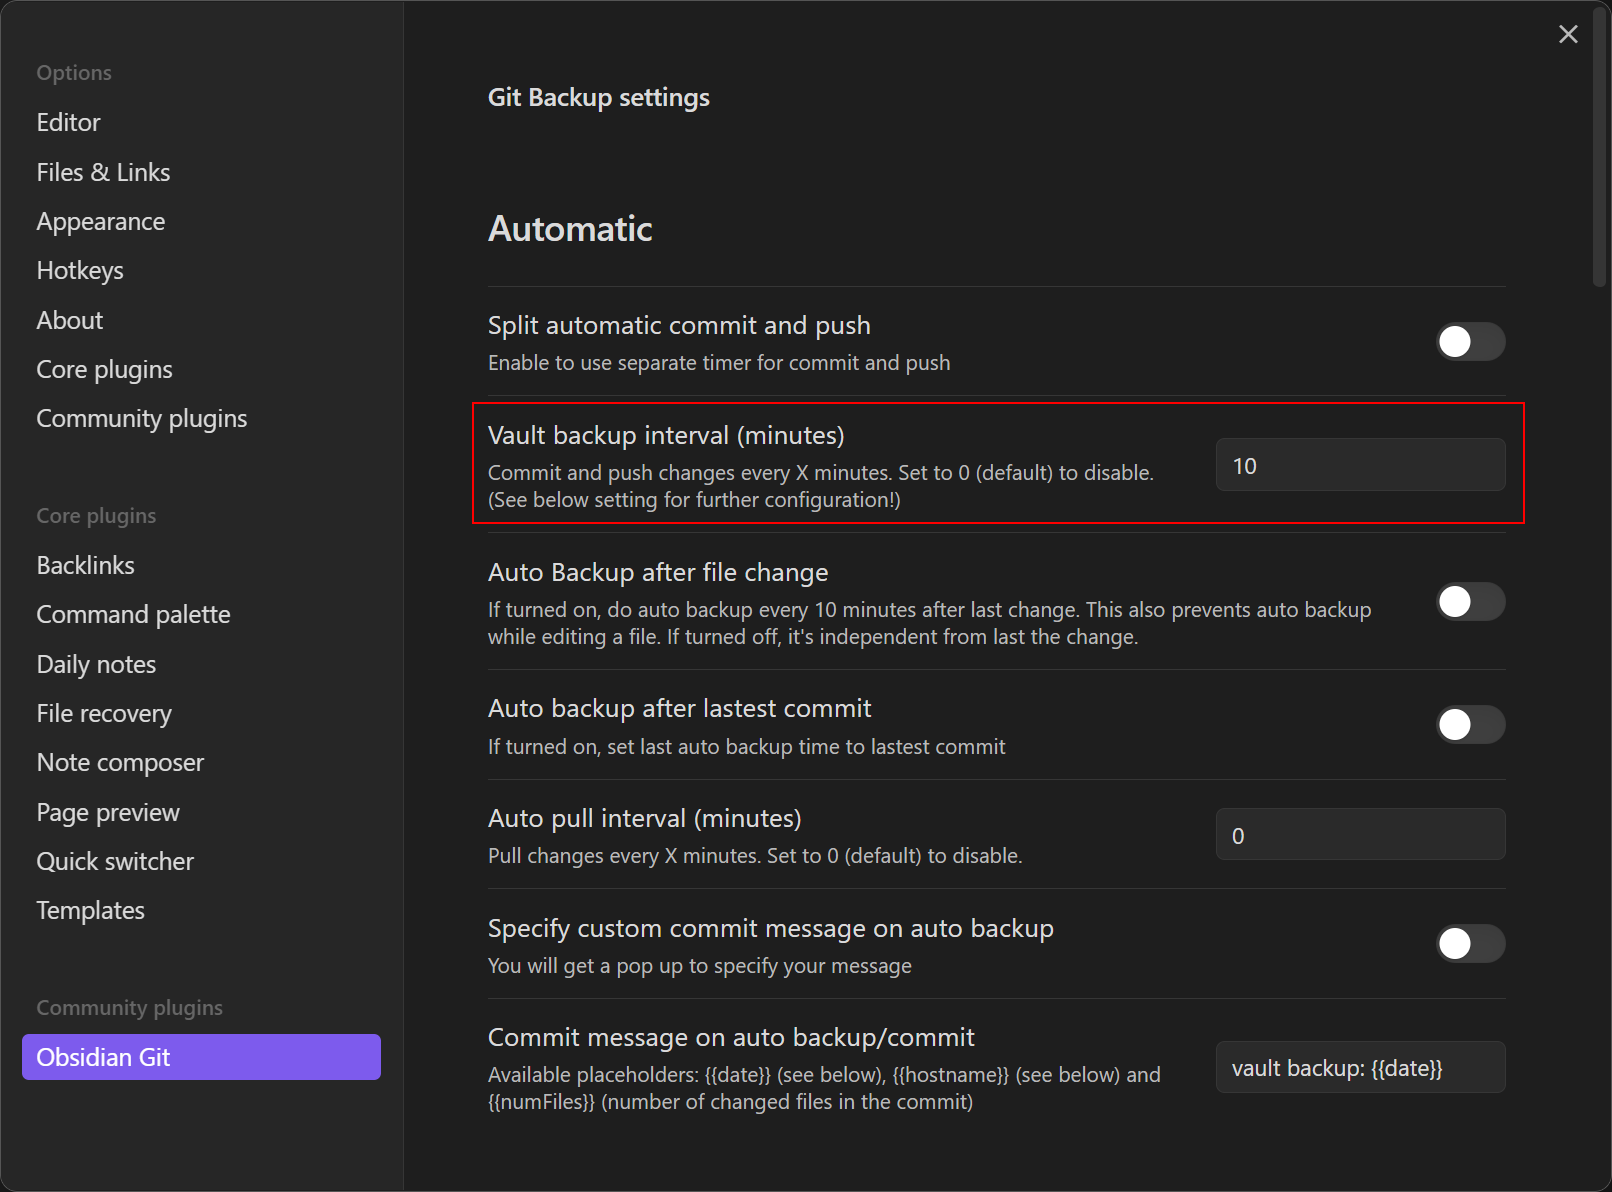
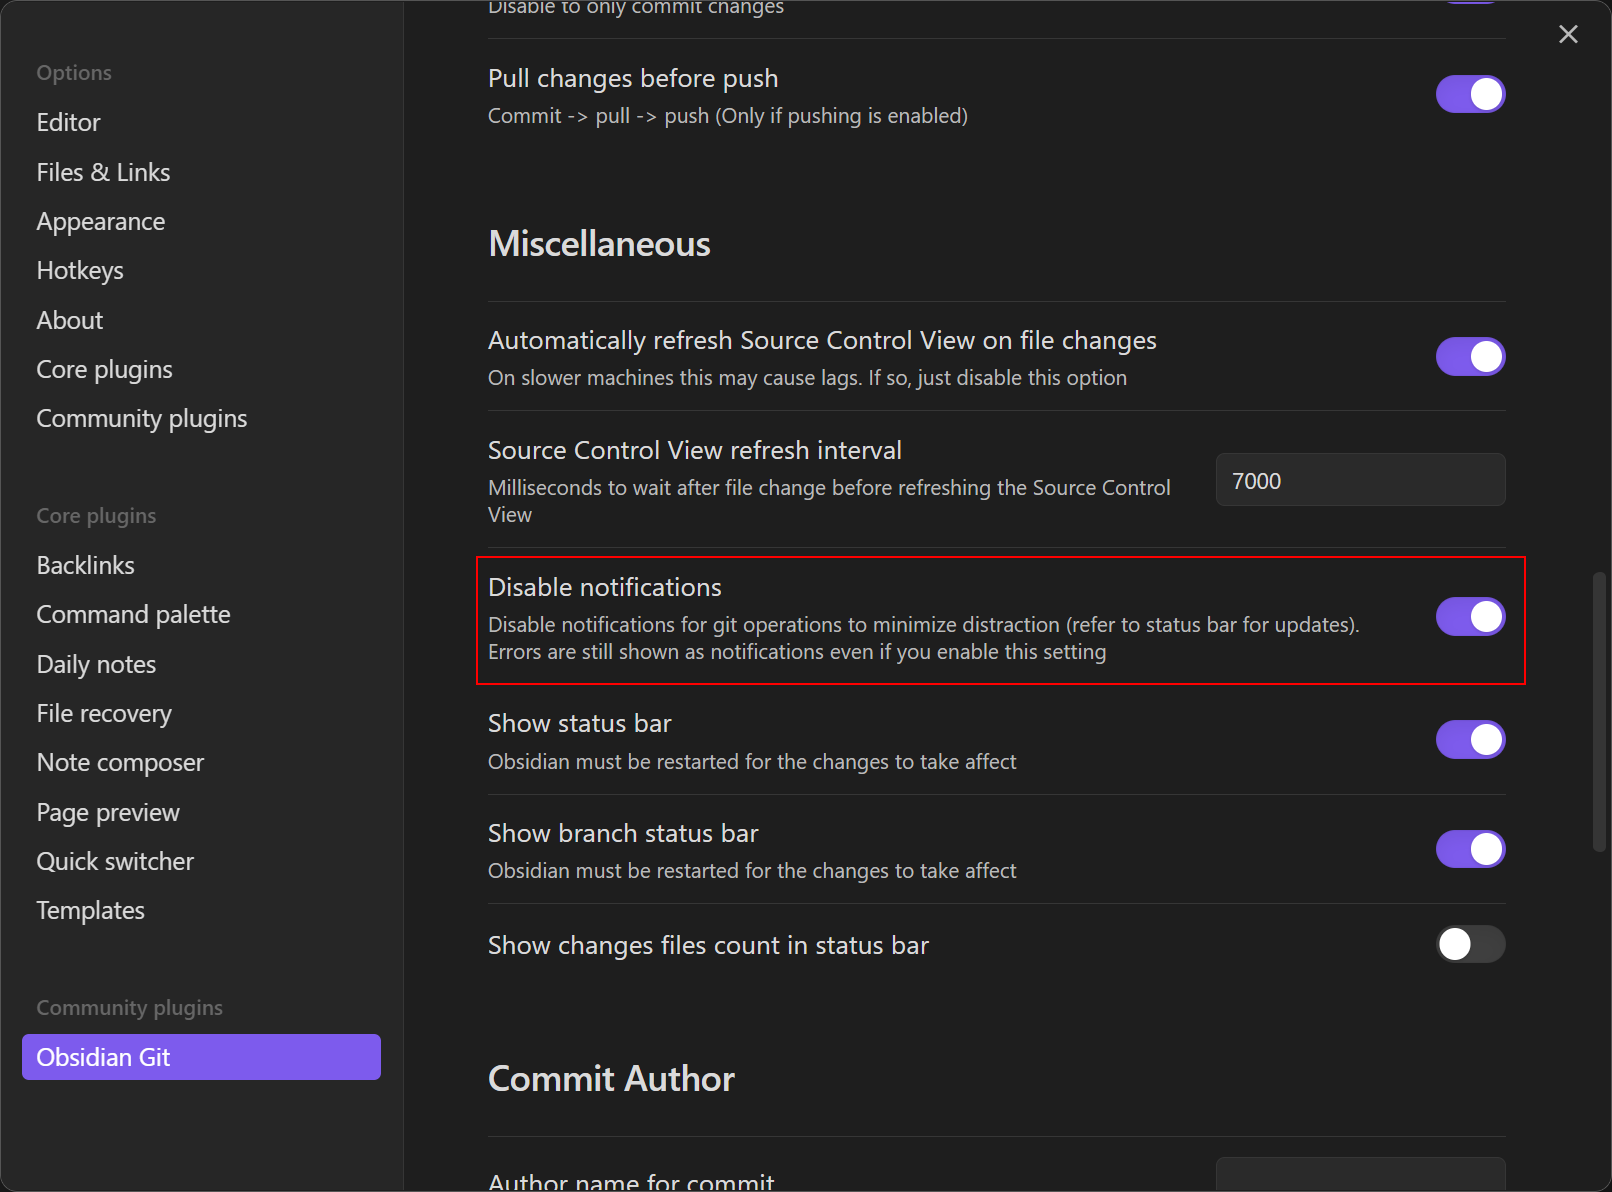
Enter a backup interval in the obsidian vault. The plugin will then regularly commit your changes and push them to GitHub. I also recommend disabling the notifications.
Conclusion
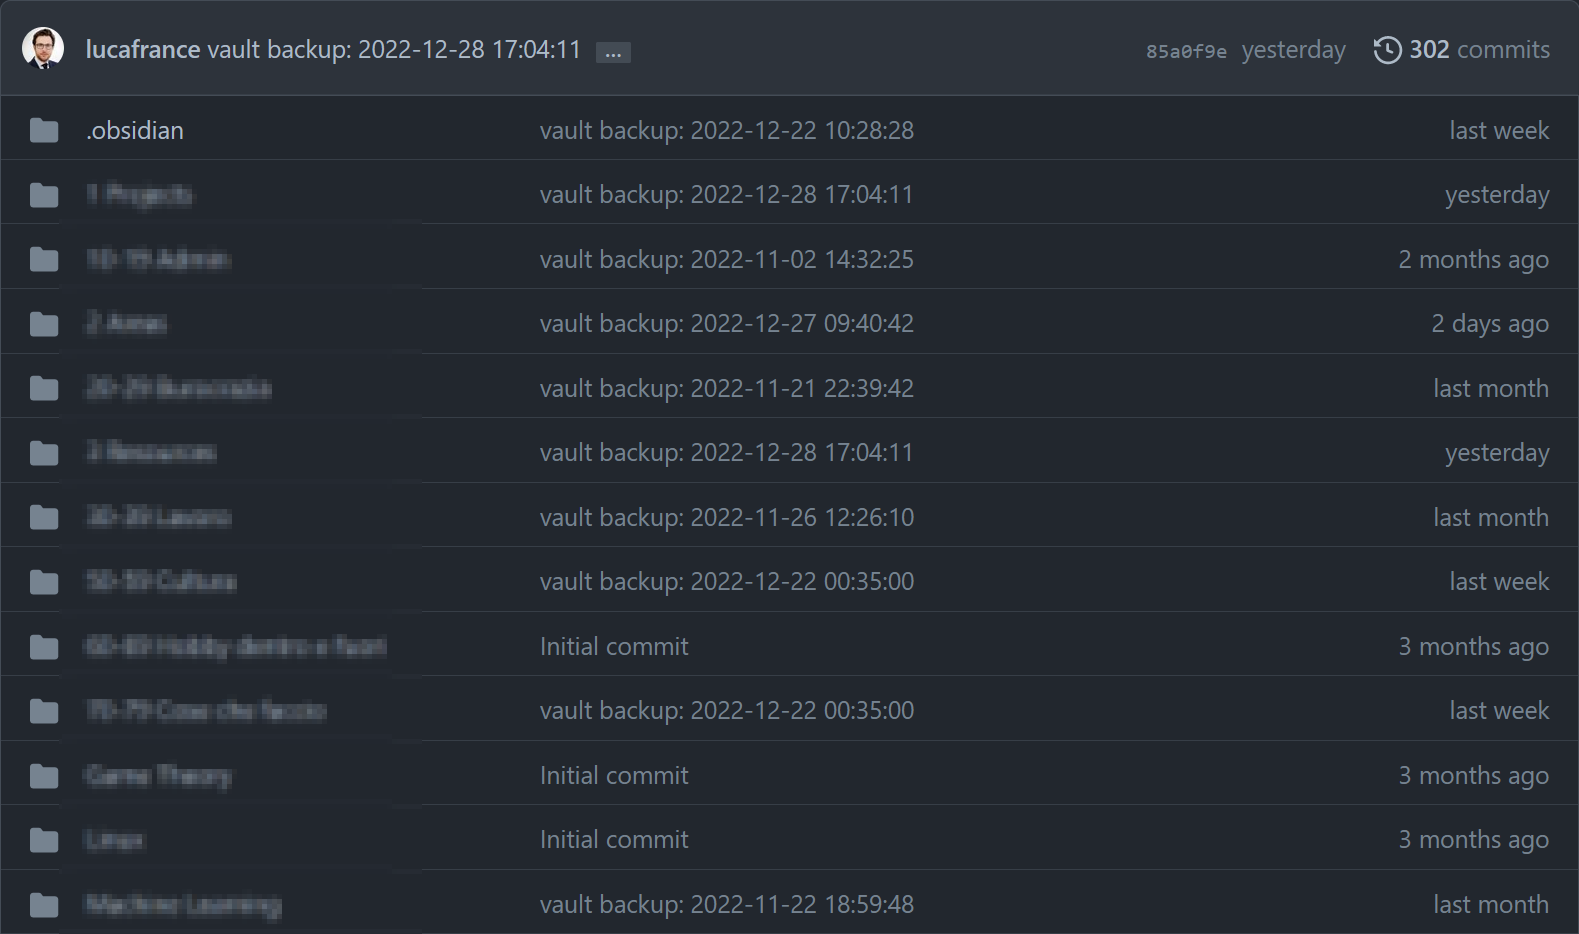
Done! Your obsidian vault is now backed up to GitHub at regular intervals.
This article has been updated since the first publication. Thank you BrandonTheTinkerer for the suggestion.
-
You can copy the
.gitfolder to the vault instead of the other way around. ↩