How to run n8n locally on Windows
For anyone interested in n8n, there is a relatively easy way to try it as much as you want. You can run the community edition of n8n locally for free. This is a good option for local automation, learning about n8n, testing, or building a demo. Here is a step-by-step guide to set it up on Windows 111.
Install or update the Windows Subsystem for Linux (WSL)
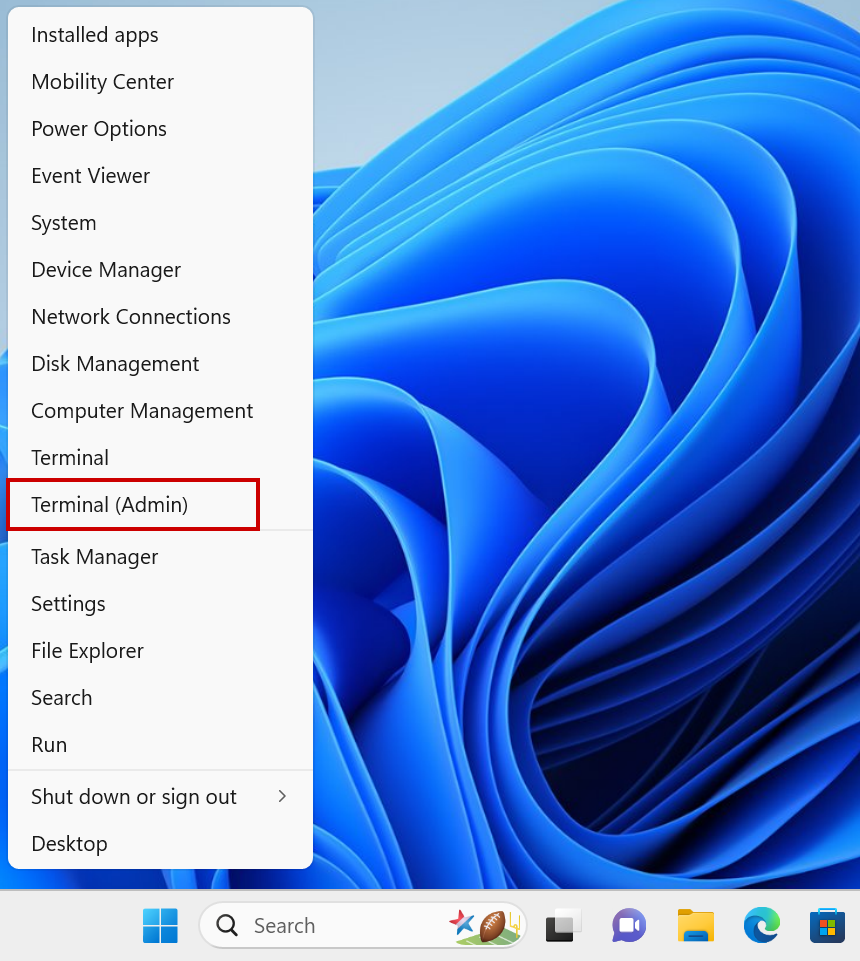
Right click on the Start menu, then click on Terminal (Admin).
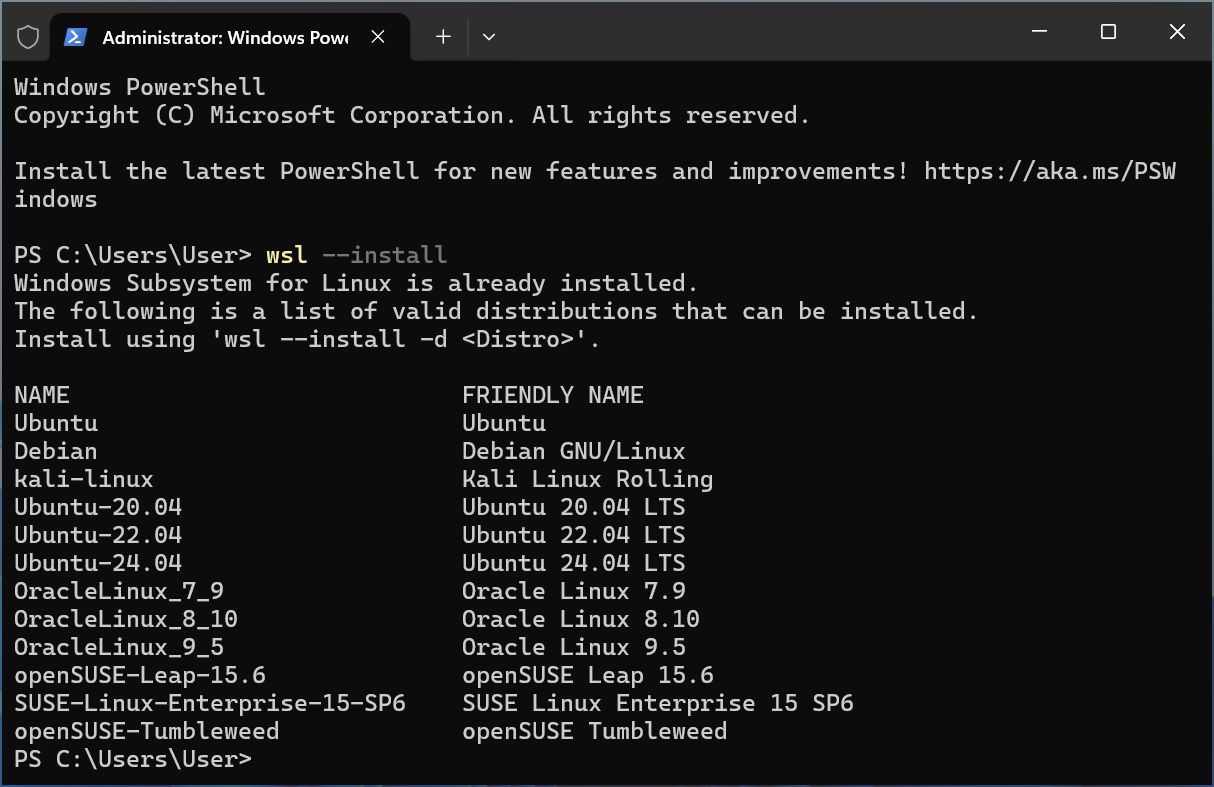
Type wsl --install, then press Enter.
Reboot after the installation is complete.

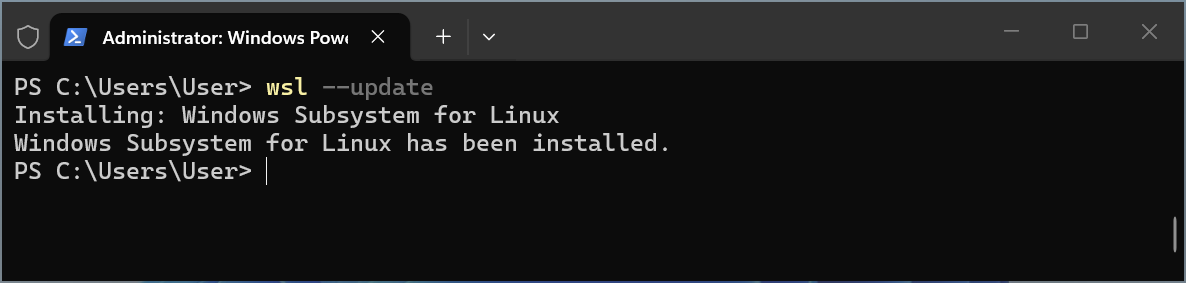
If you get the message Windows Subsystem for Linux is already installed., then type wsl --update and press Enter.
Install Docker Desktop
Download Docker Desktop and open the installer file2.
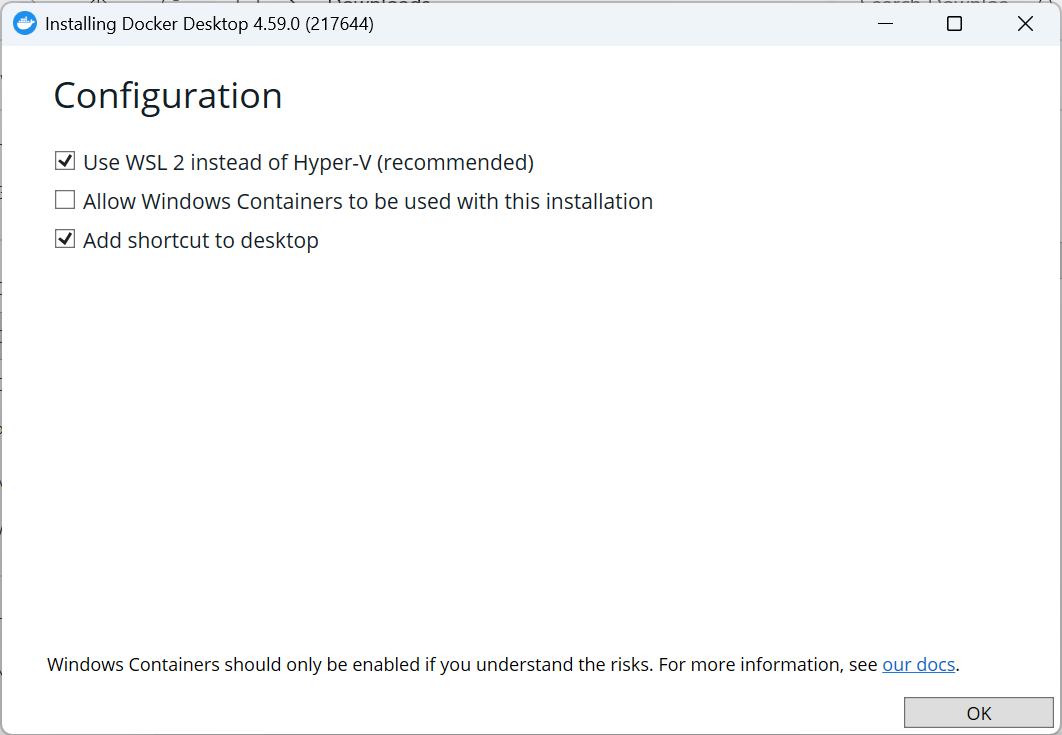
Click OK. Windows containers aren’t required.
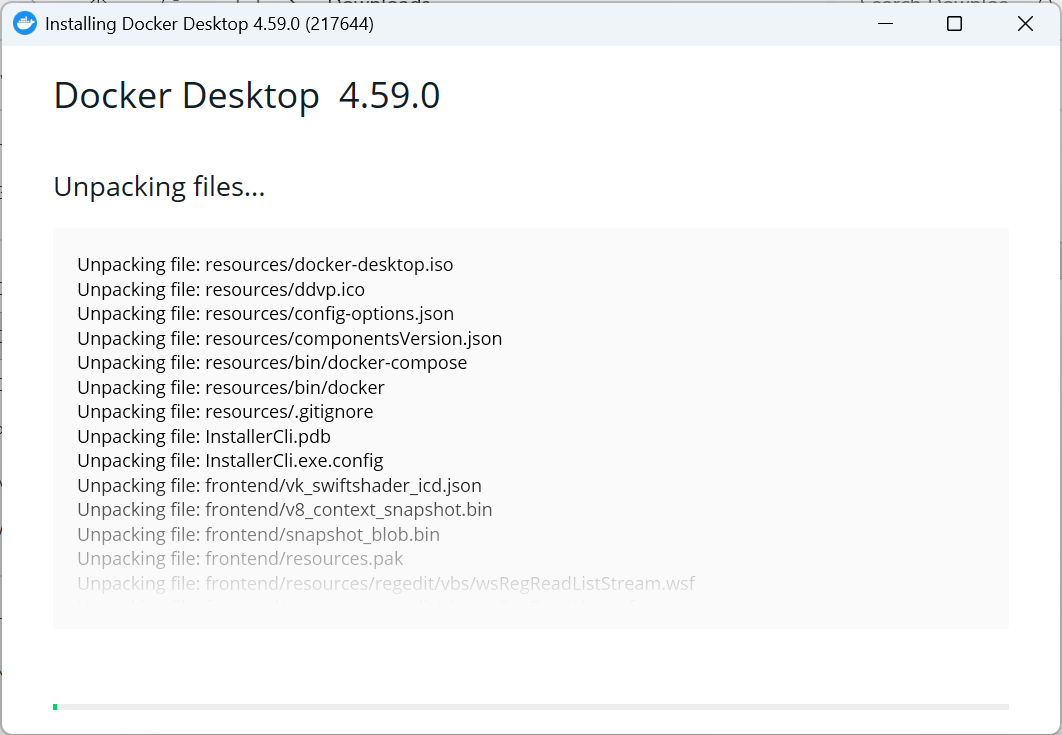
Wait for the installation to complete.
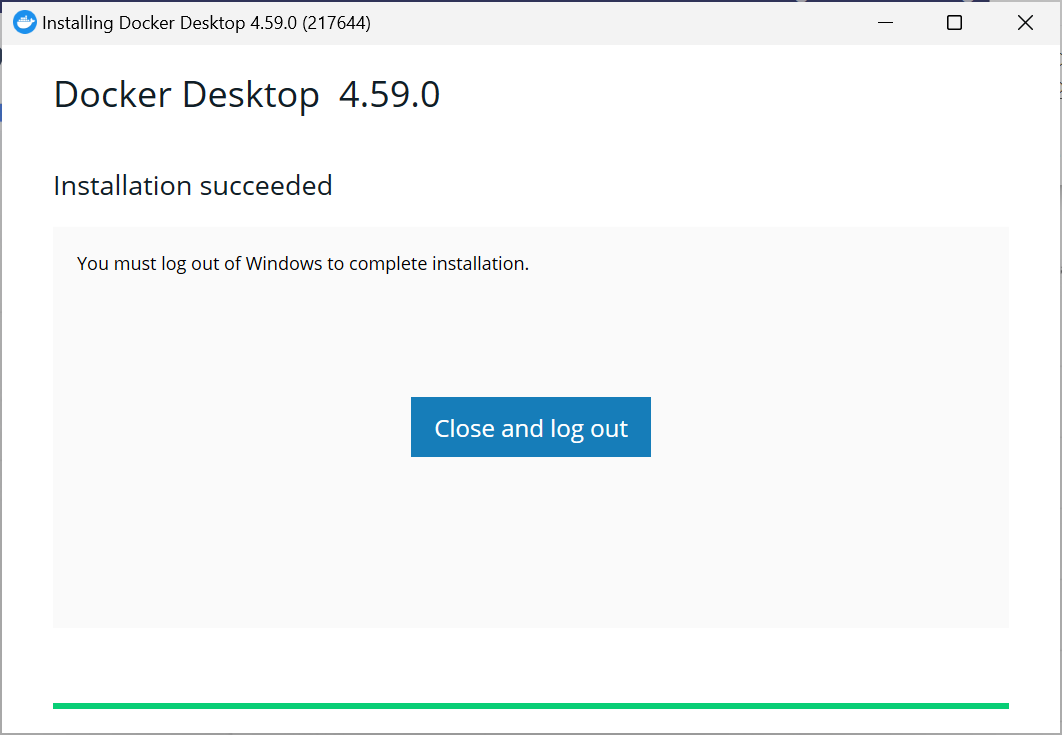
You might be prompted to log out at the end of the installation.
Start Docker Desktop for the first time
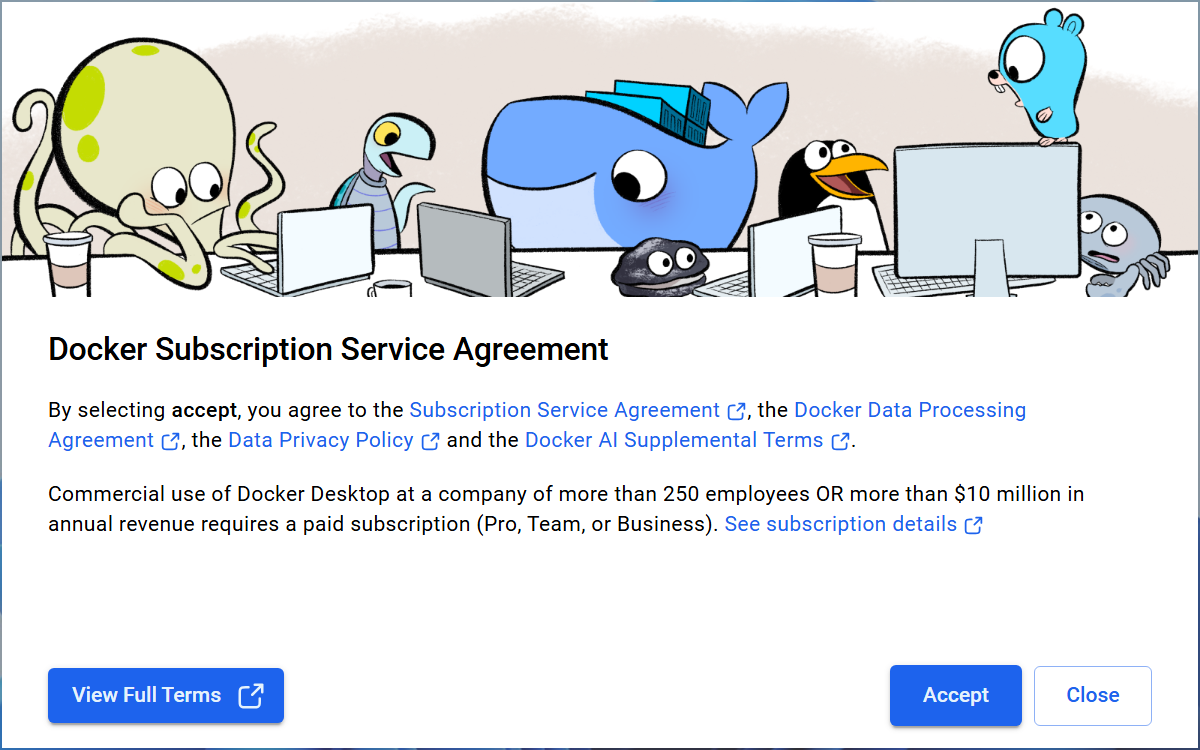
Start Docker Desktop, accept the Terms of Service.
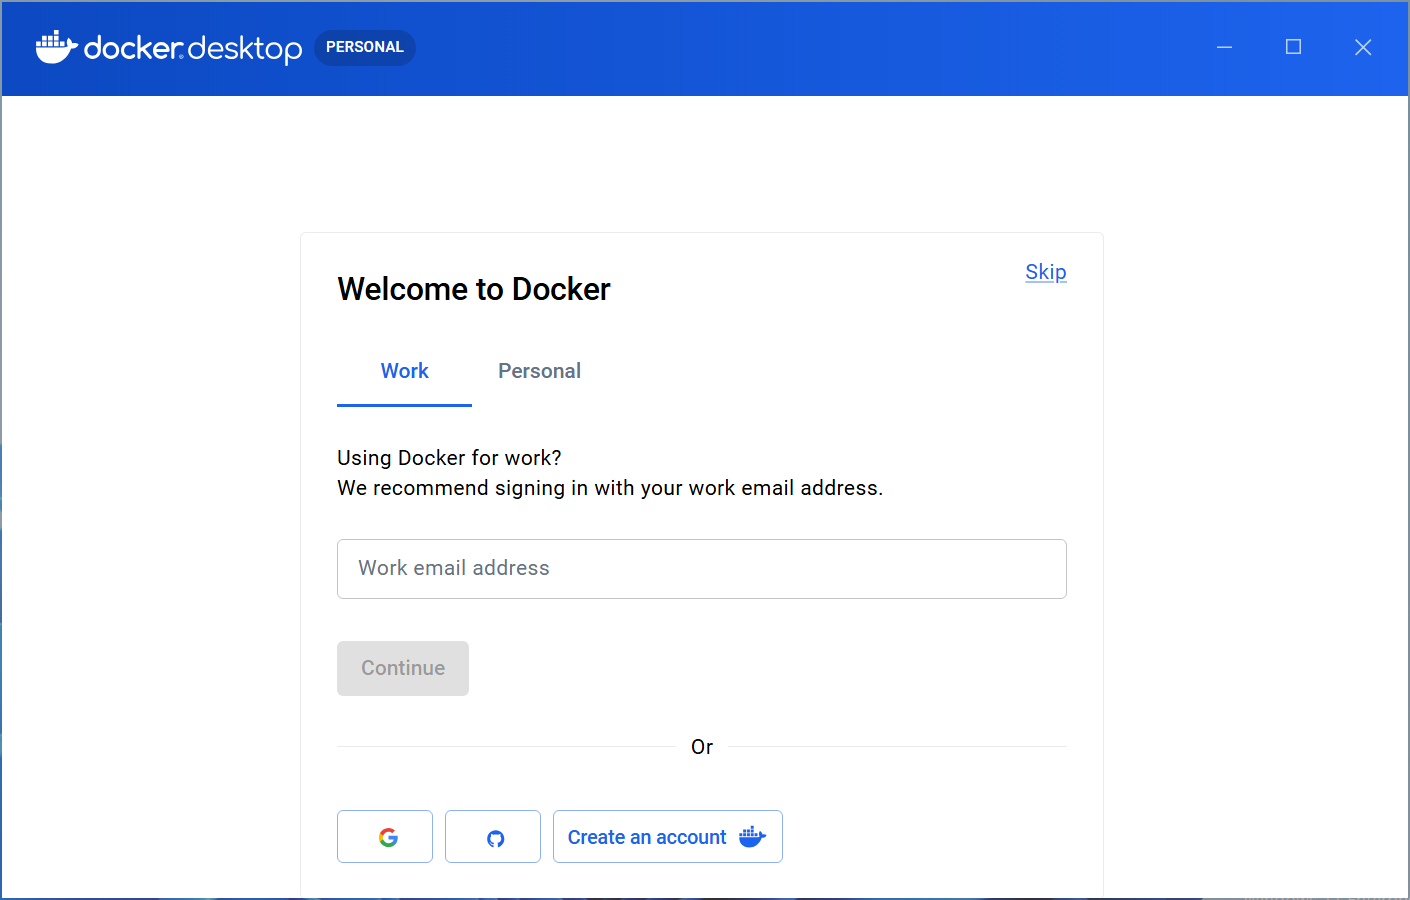
You can skip creating an account.
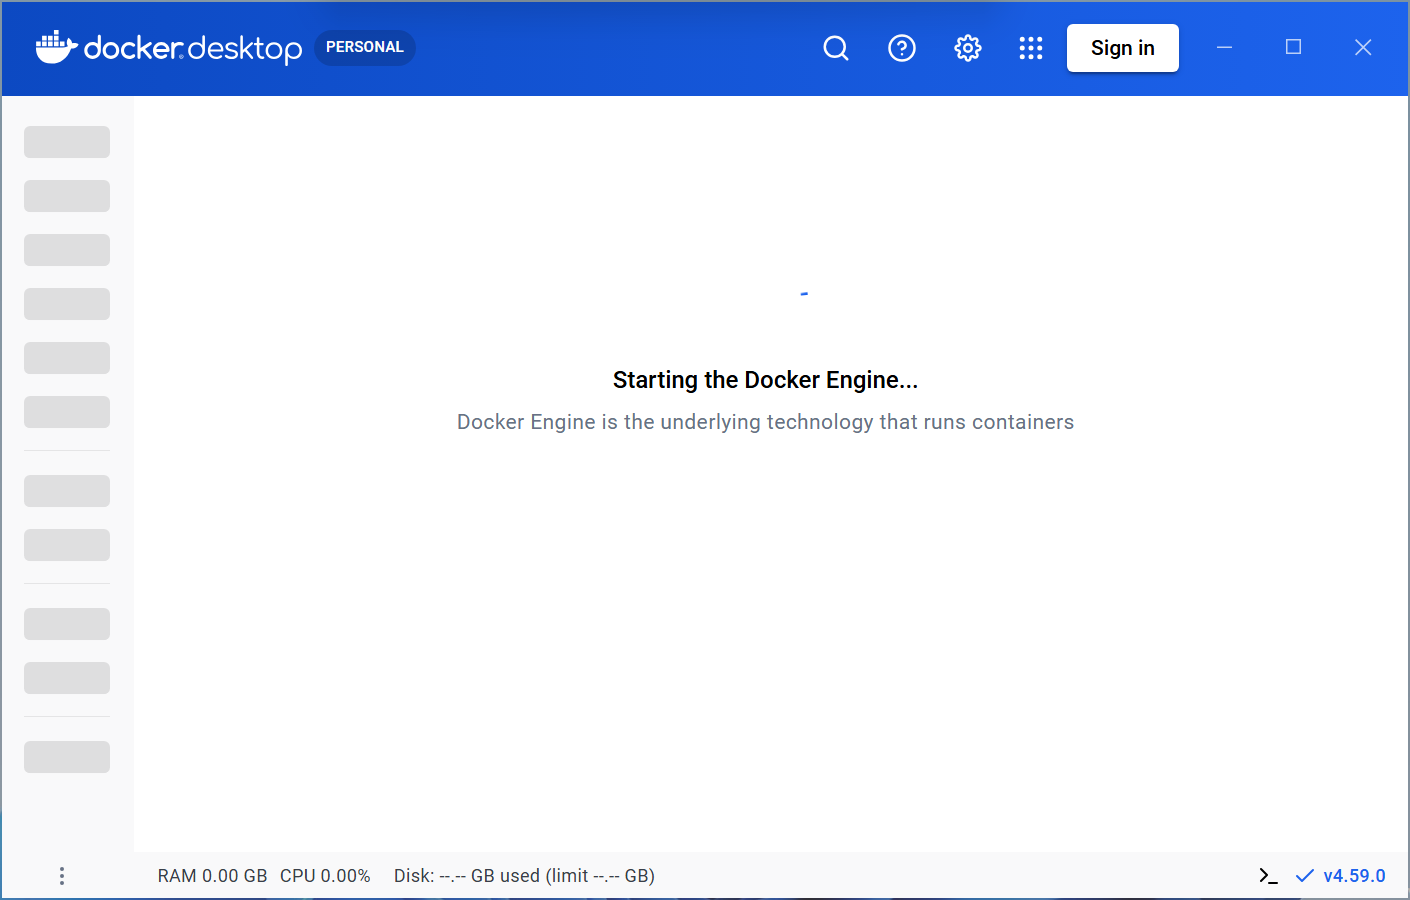
Wait for the Docker Engine to start.
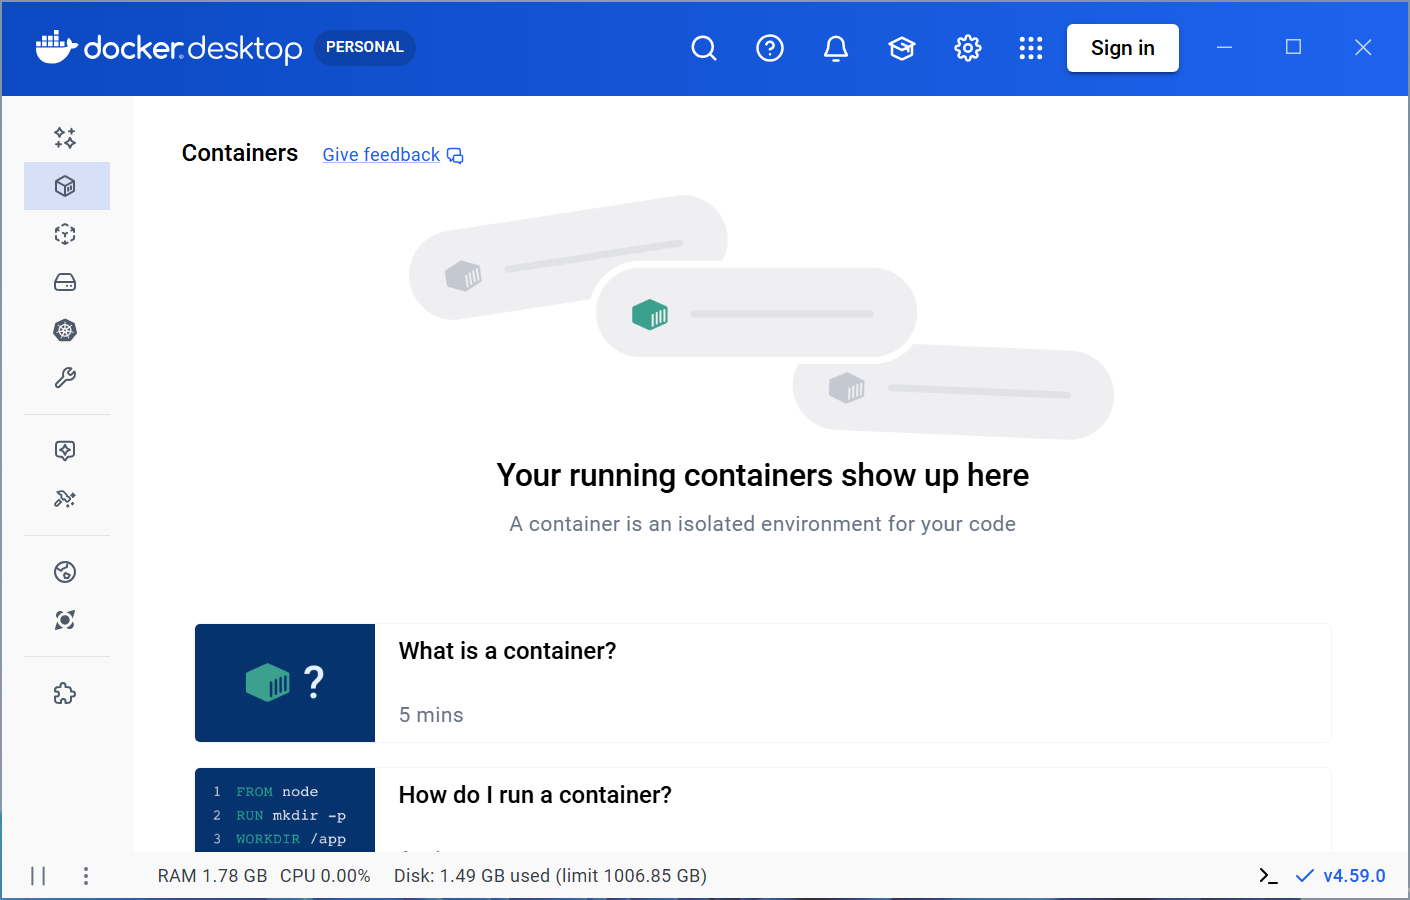
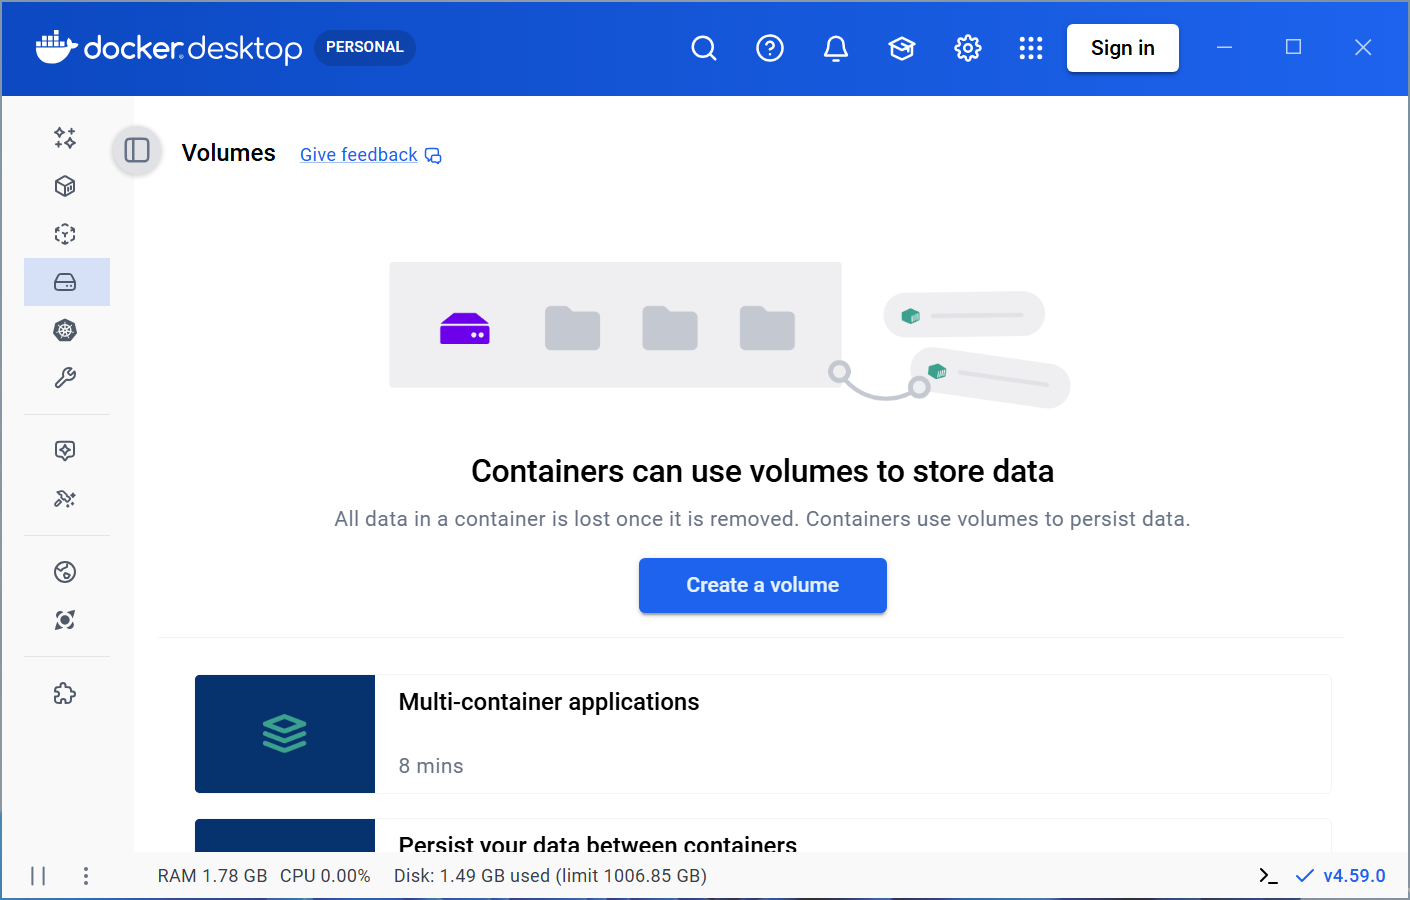
When ready, Docker Desktop should look like this.
Set up an n8n Docker image
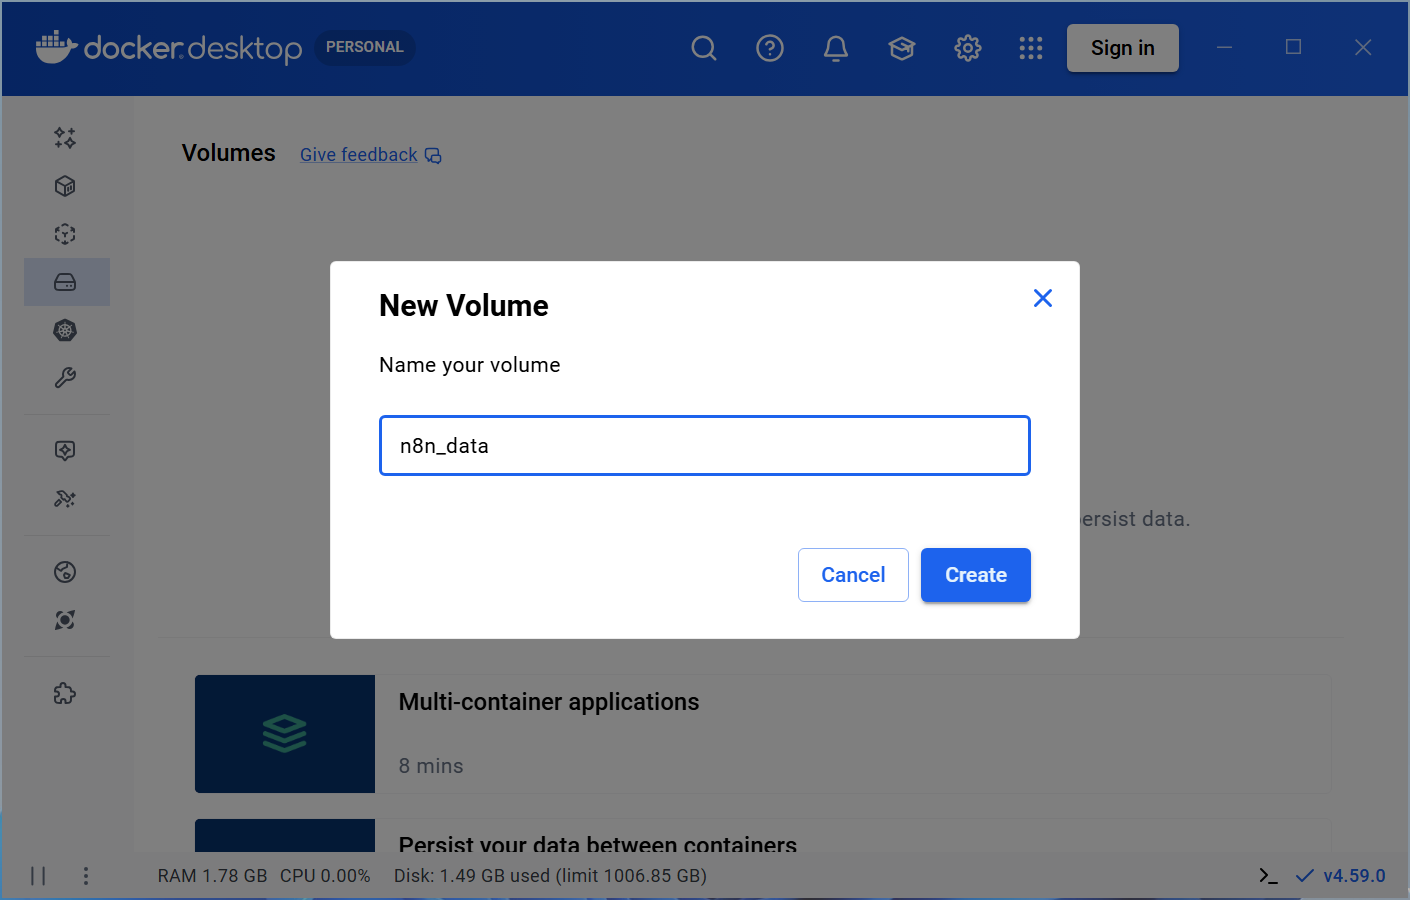
Click on Volumes > Create a volume.
Name the volume n8n_data, then create it.
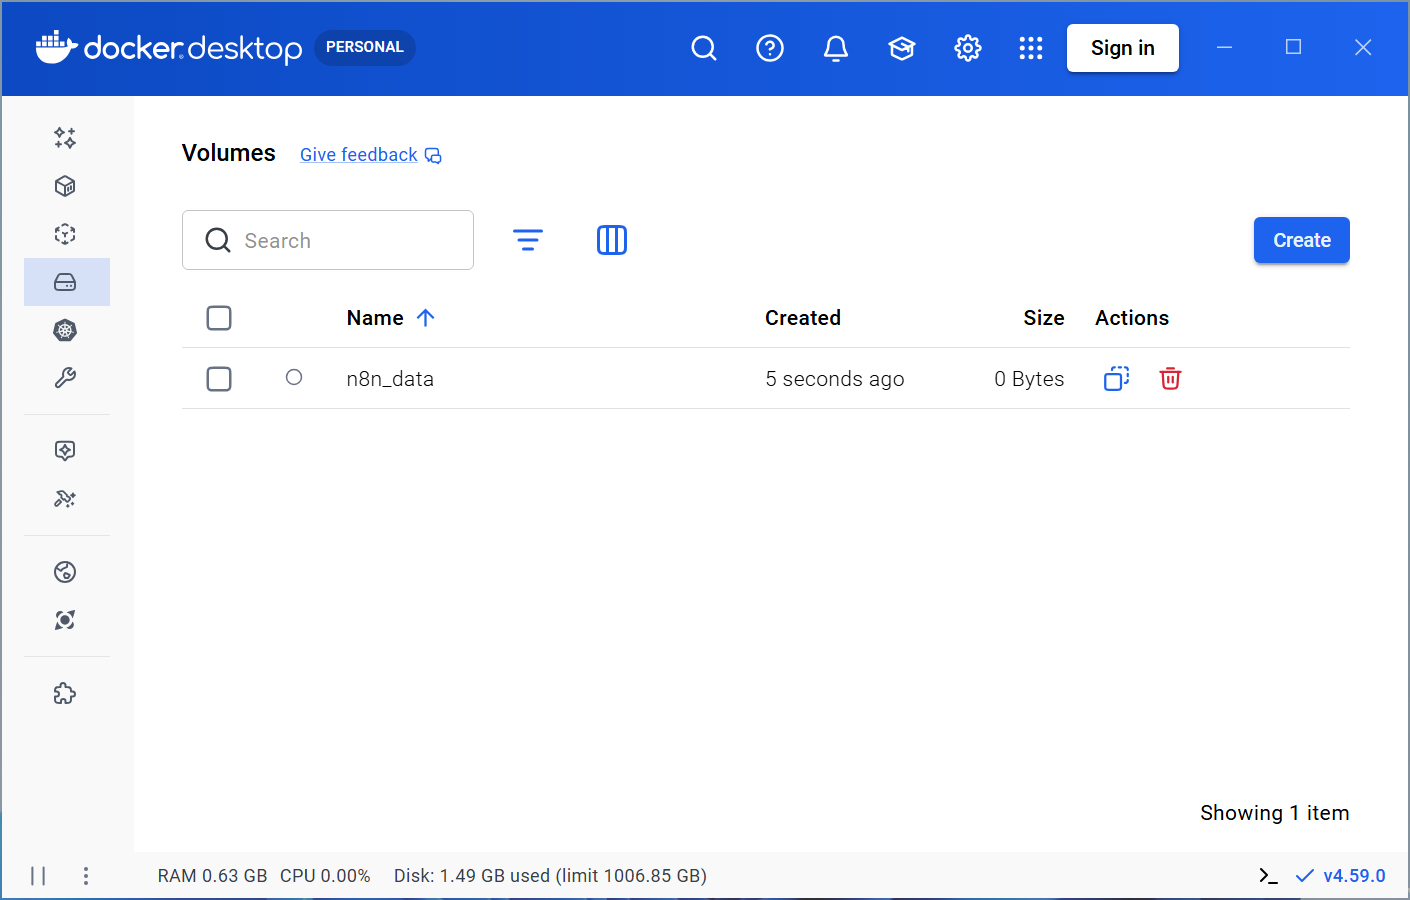
The volume should show up in the list. This is where the permanent data of your n8n instance will be stored.
Click on Images > Search images to run.
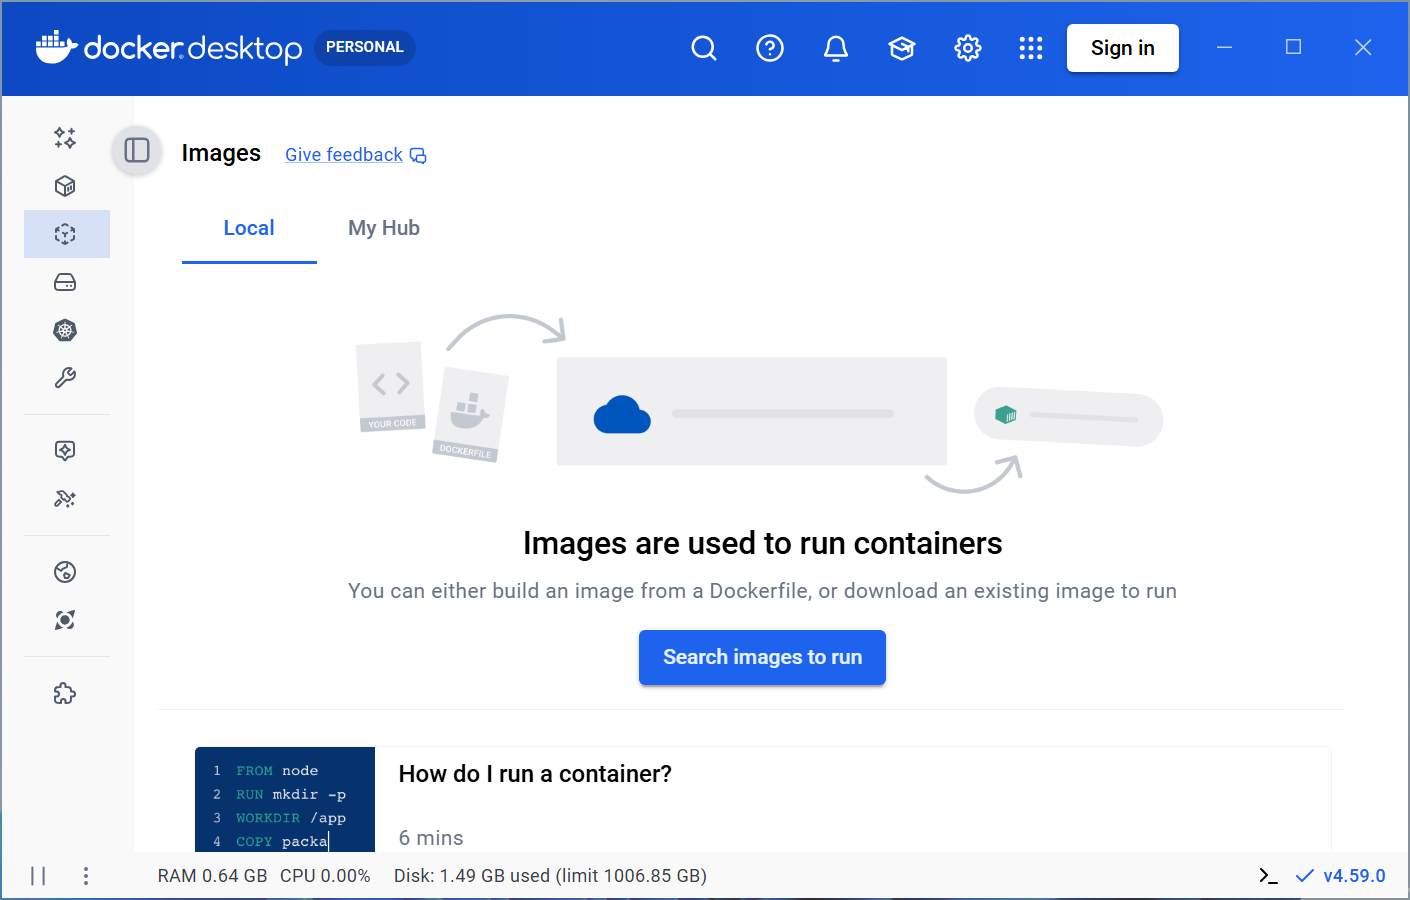
Search n8n.
Click on Pull for the n8nio/n8n image.
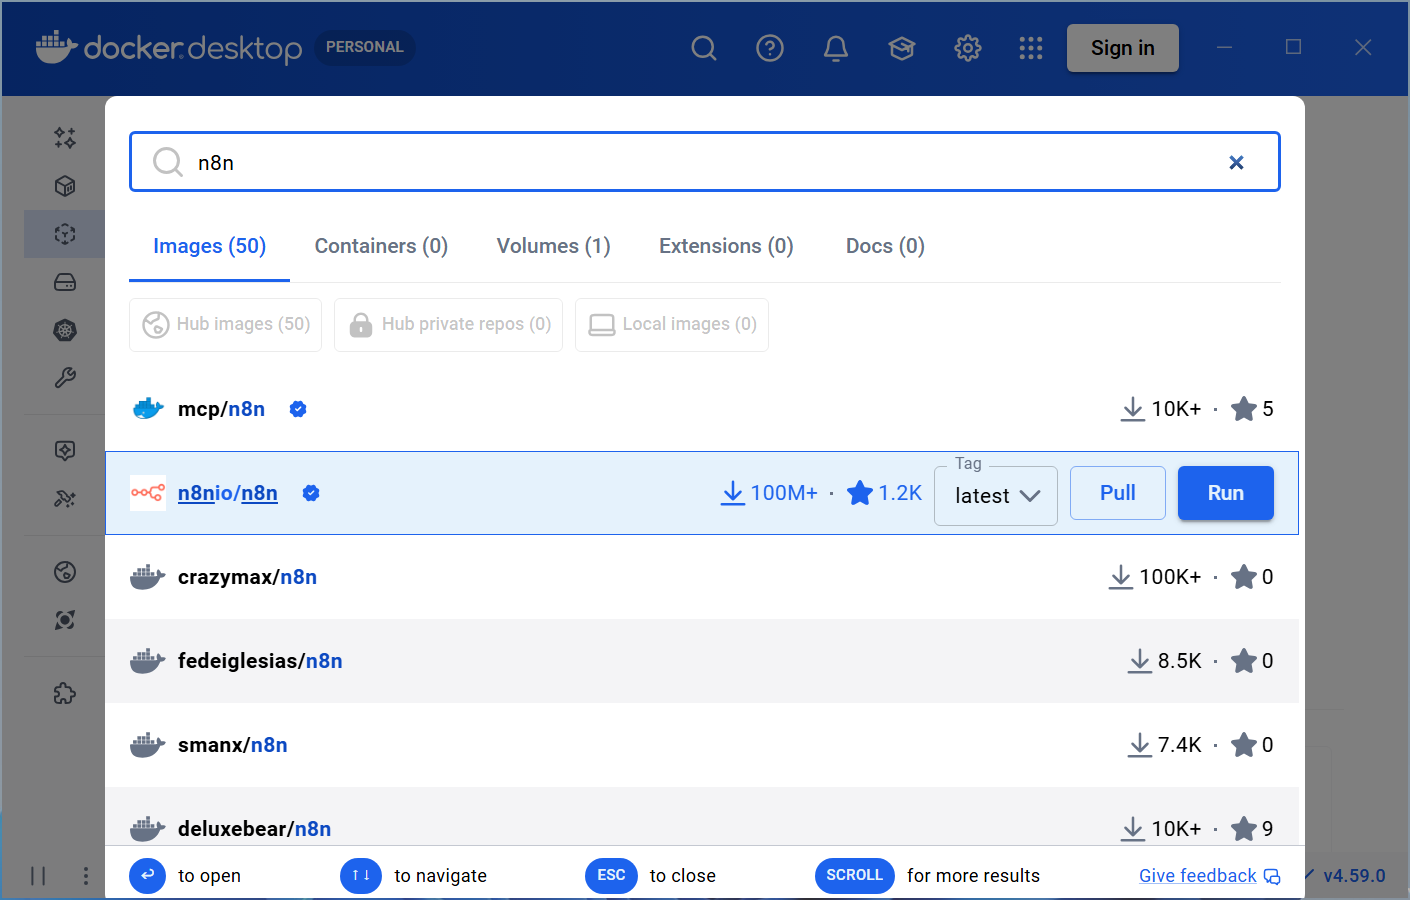
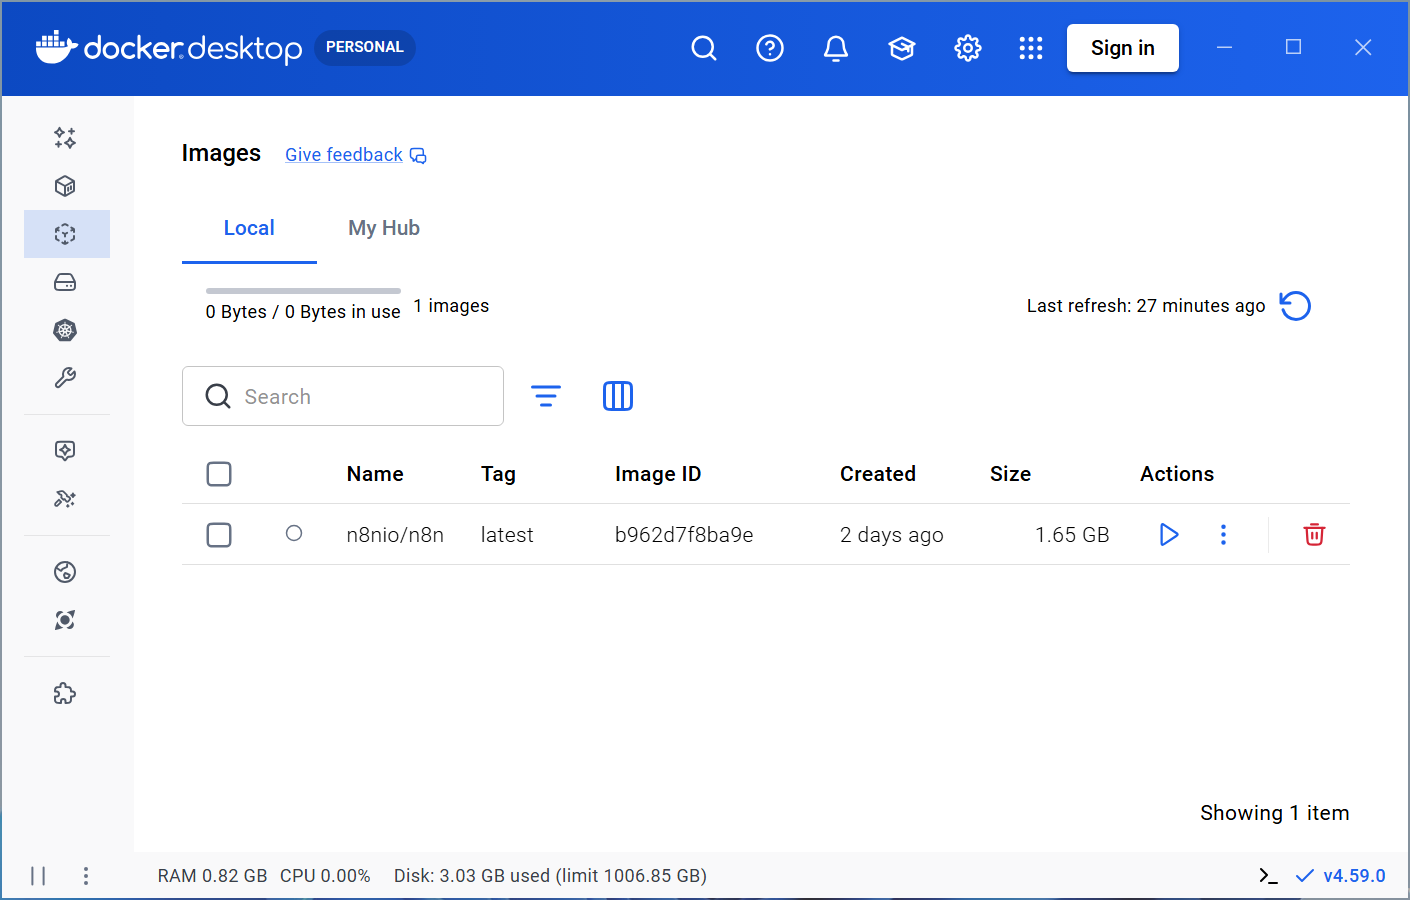
Wait for the image to be downloaded, then press Esc to close the search window. You should now see the n8n image.
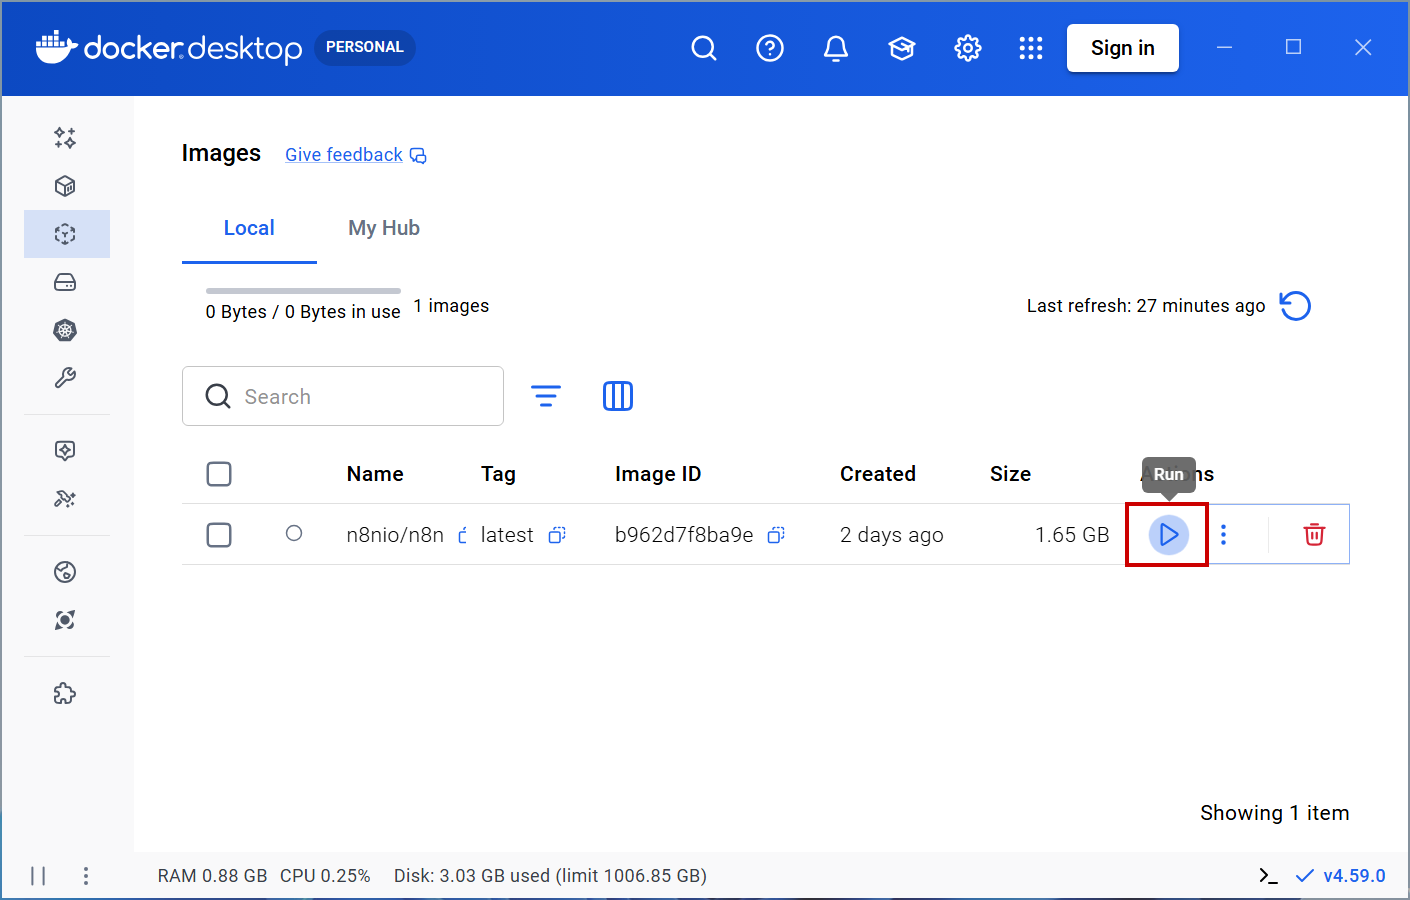
Create an n8n container
Click on Run.
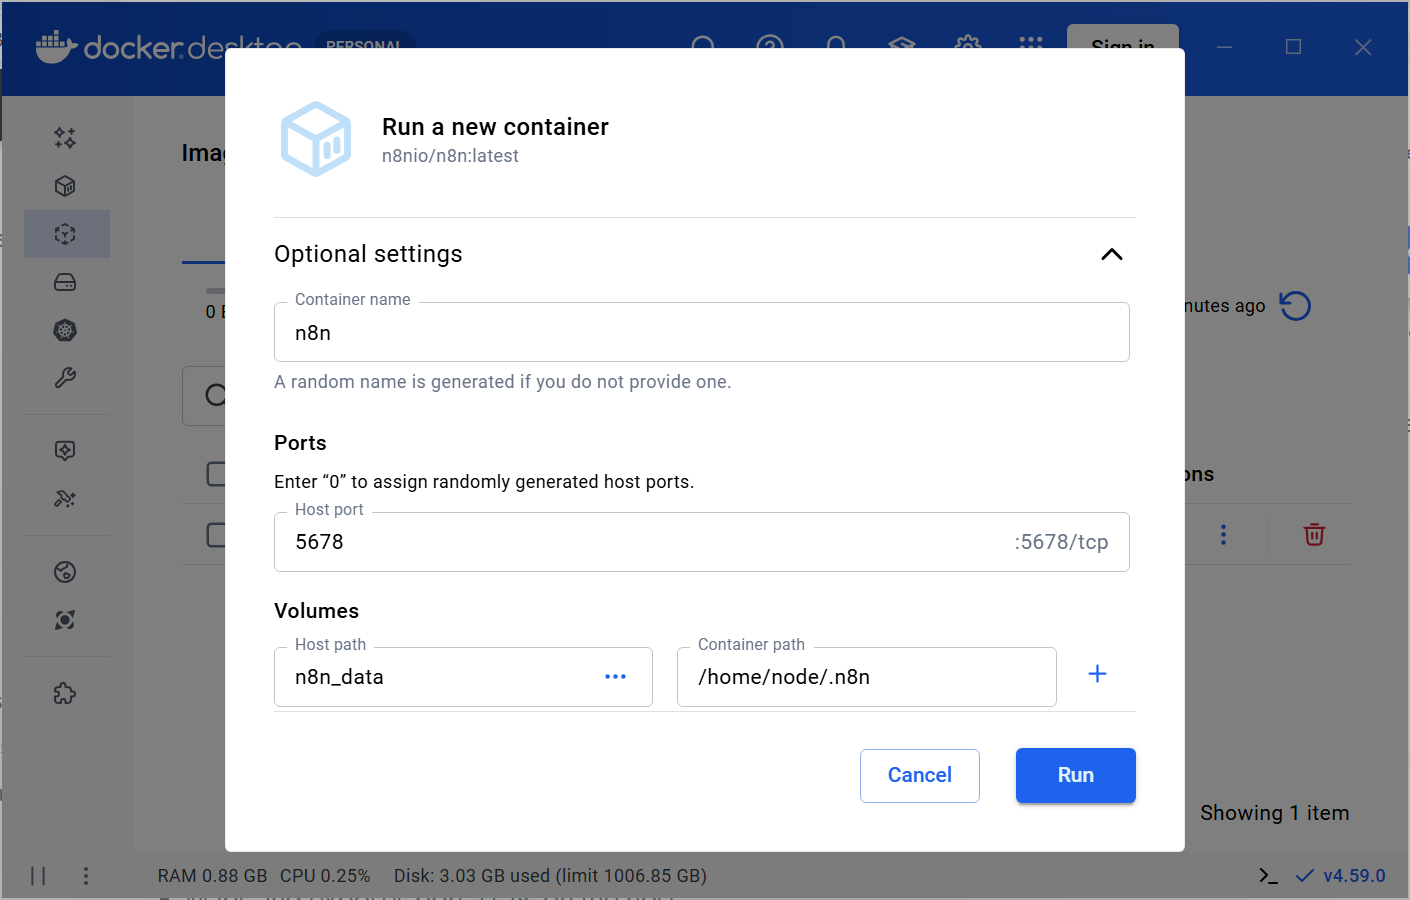
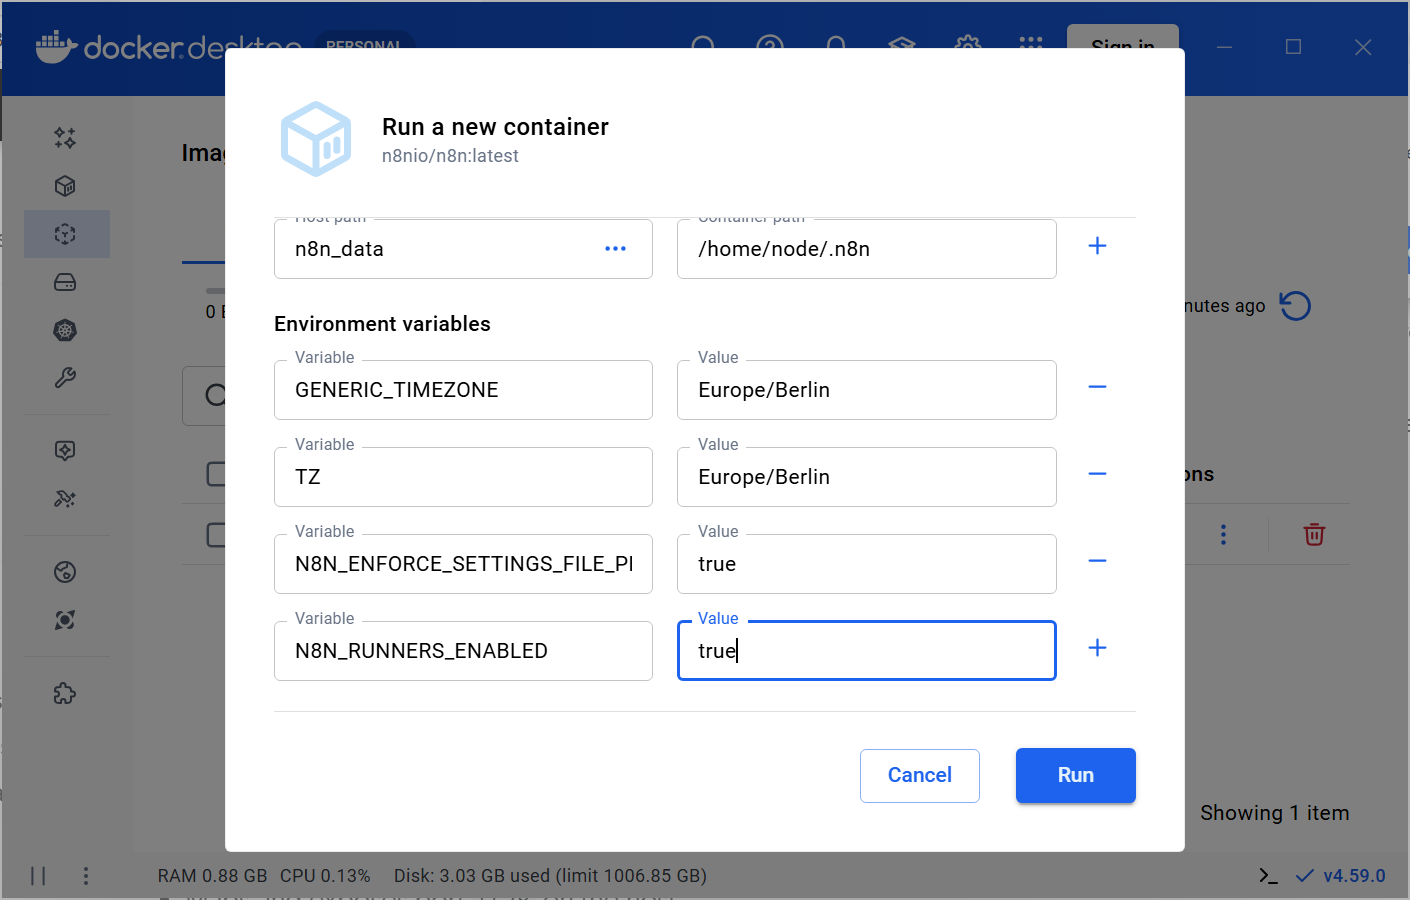
Open the optional settings and configure the container with the following parameters.
Replace <YOUR_TIMEZONE> with your time zone identifier as documented here, e.g. Europe/Berlin for Germany.
- Container name:
n8n - Ports
- Host port:
5678
- Host port:
- Volumes
- Host path:
n8n_data - Container path:
/home/node/.n8n
- Host path:
- Variables
- Variable:
GENERIC_TIMEZONE, value:<YOUR_TIMEZONE> - Variable:
TZ, value:<YOUR_TIMEZONE> - Variable:
N8N_ENFORCE_SETTINGS_FILE_PERMISSIONS, value:true - Variable:
N8N_RUNNERS_ENABLED, value:true
- Variable:
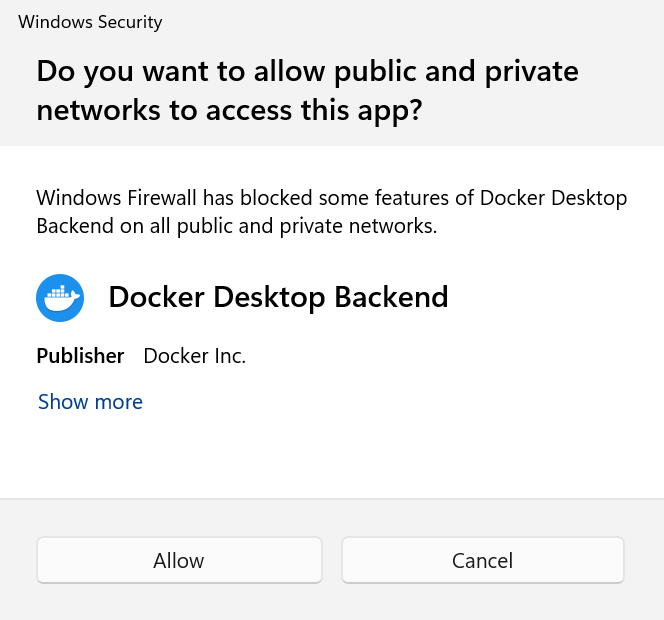
If prompted by Windows Security, click Cancel. Access isn’t required for local use.
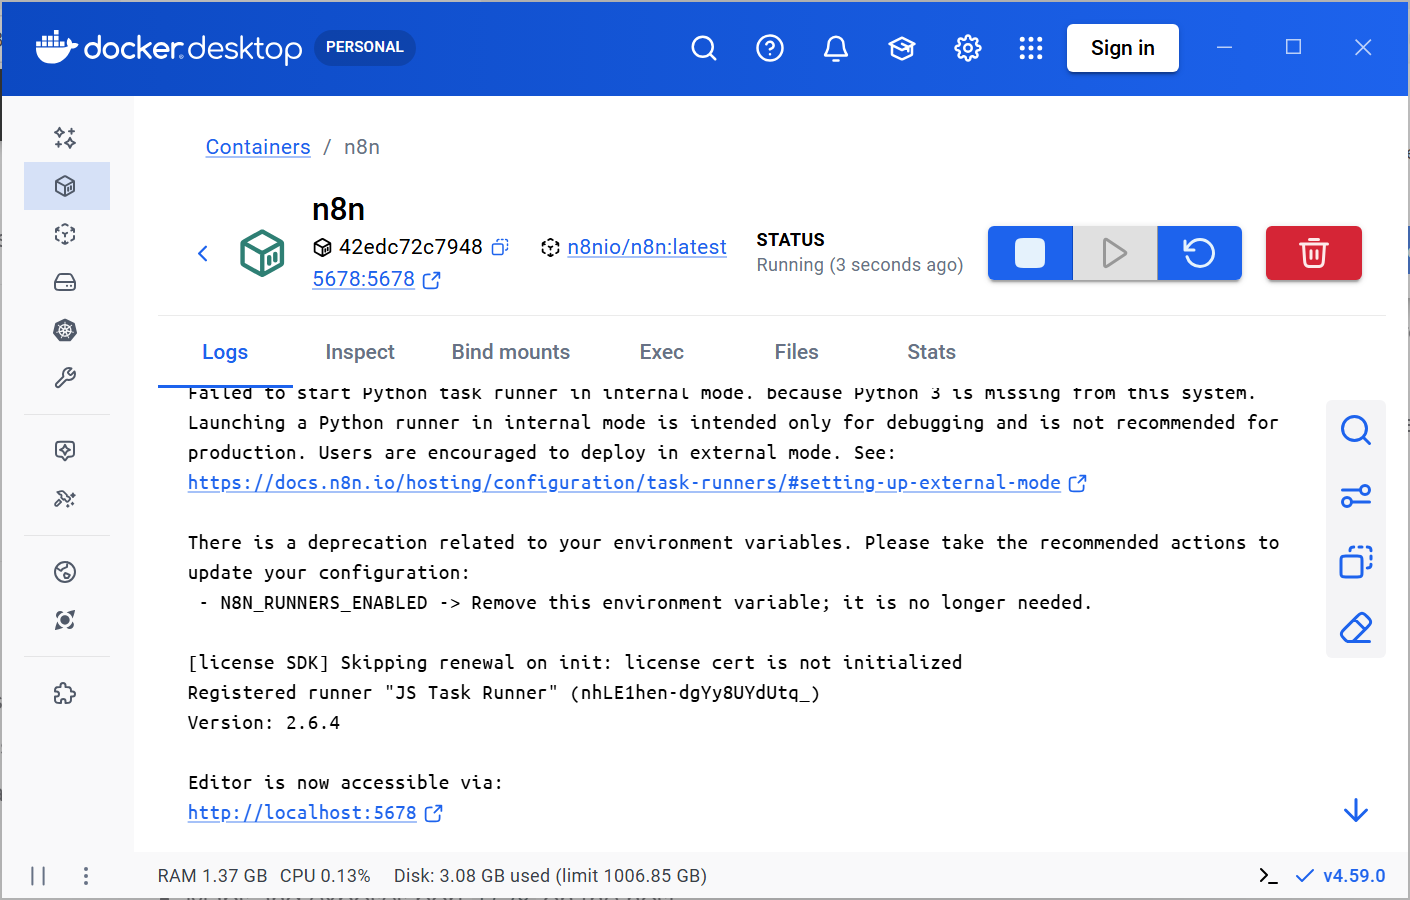
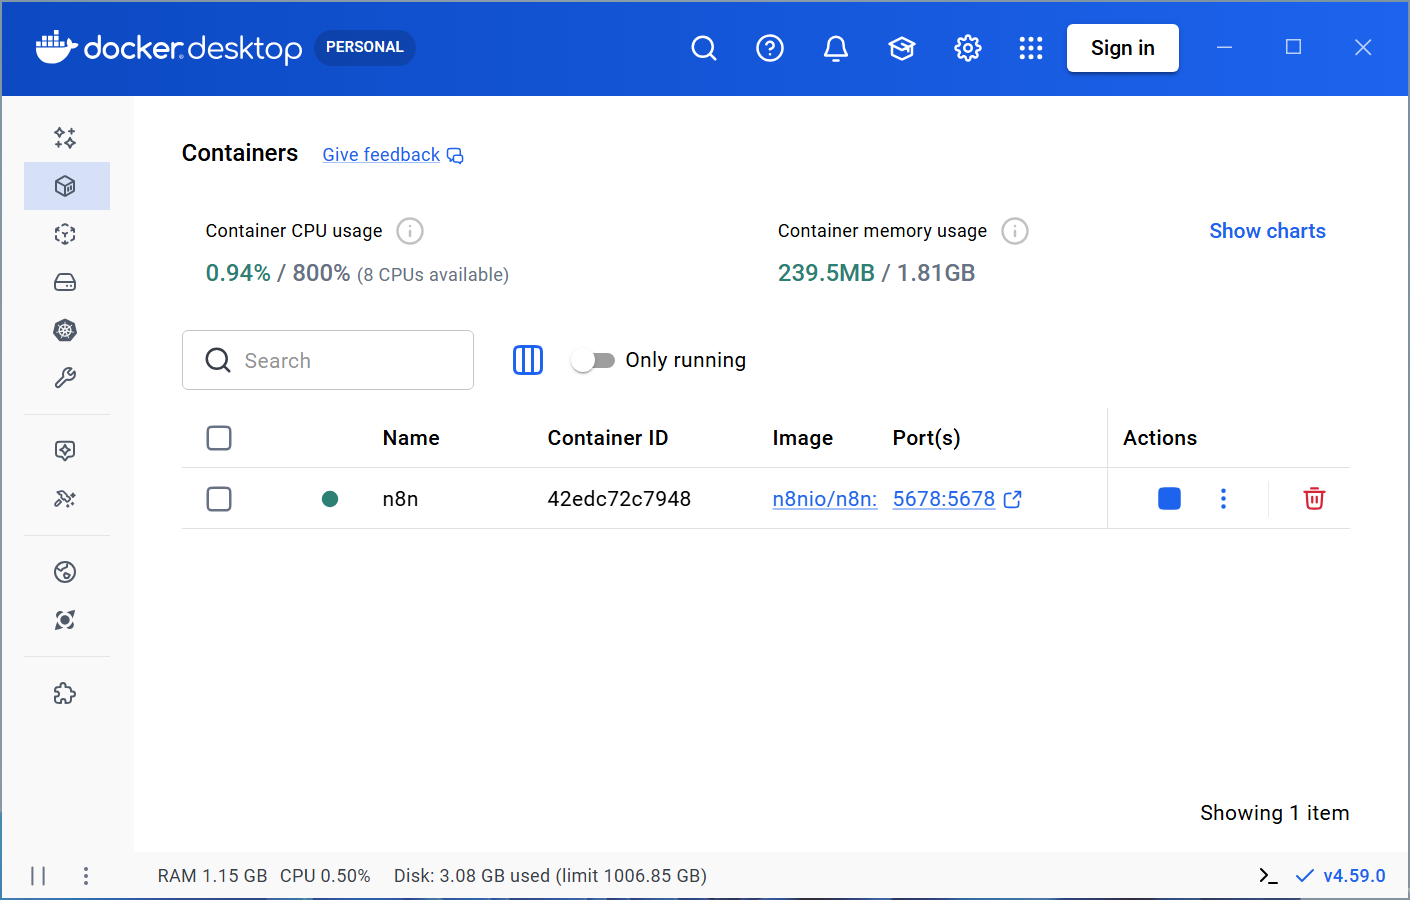
If successful, Docker Desktop should look like this.
Configure n8n
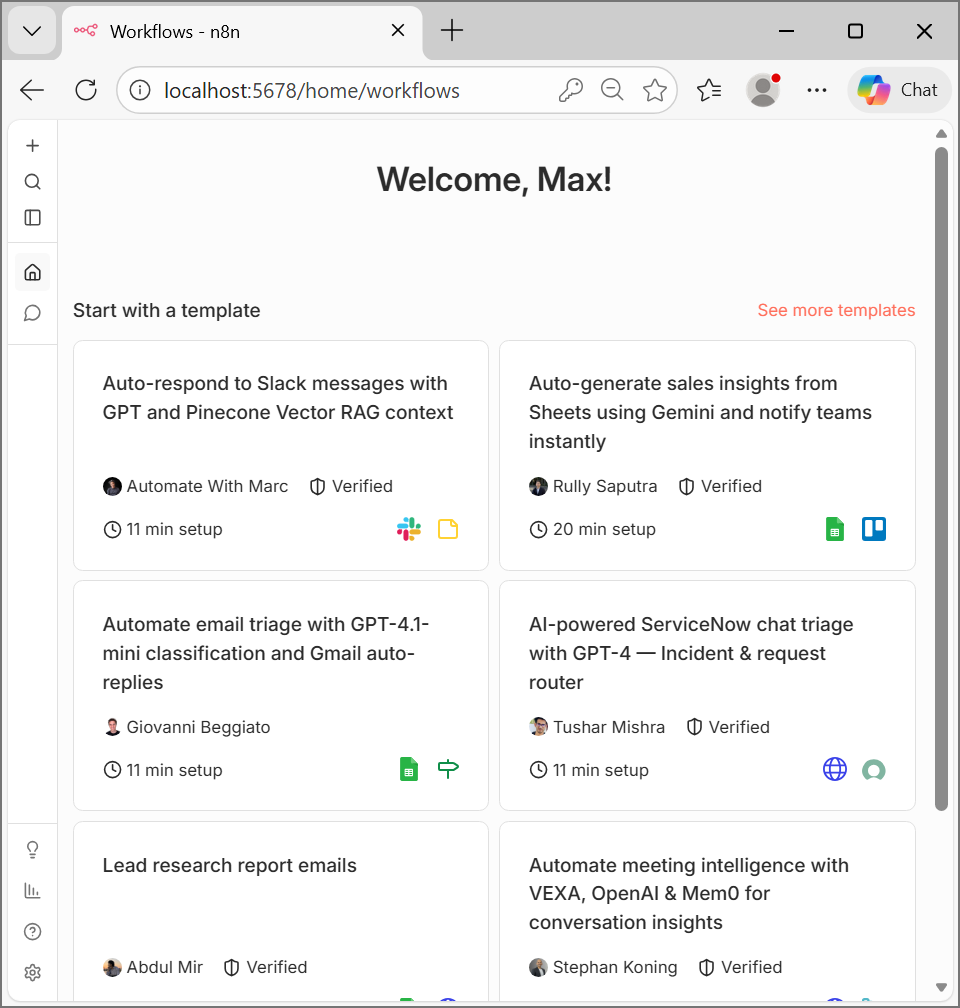
Your local n8n instance is available at http://localhost:5678. You will be prompted to set up an owner account the first time you open the page.
Note: If you already have a n8n account, it is unrelated to this one. You can reuse the same email you used for other n8n instances.
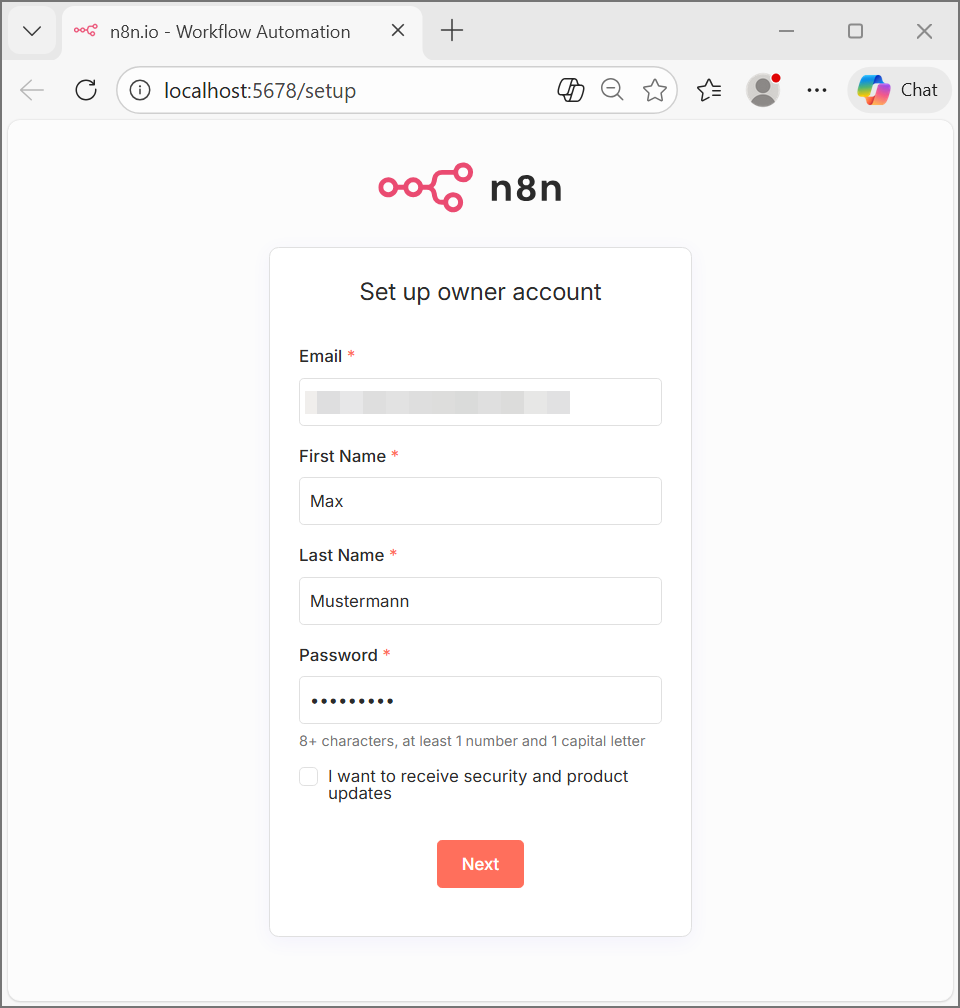
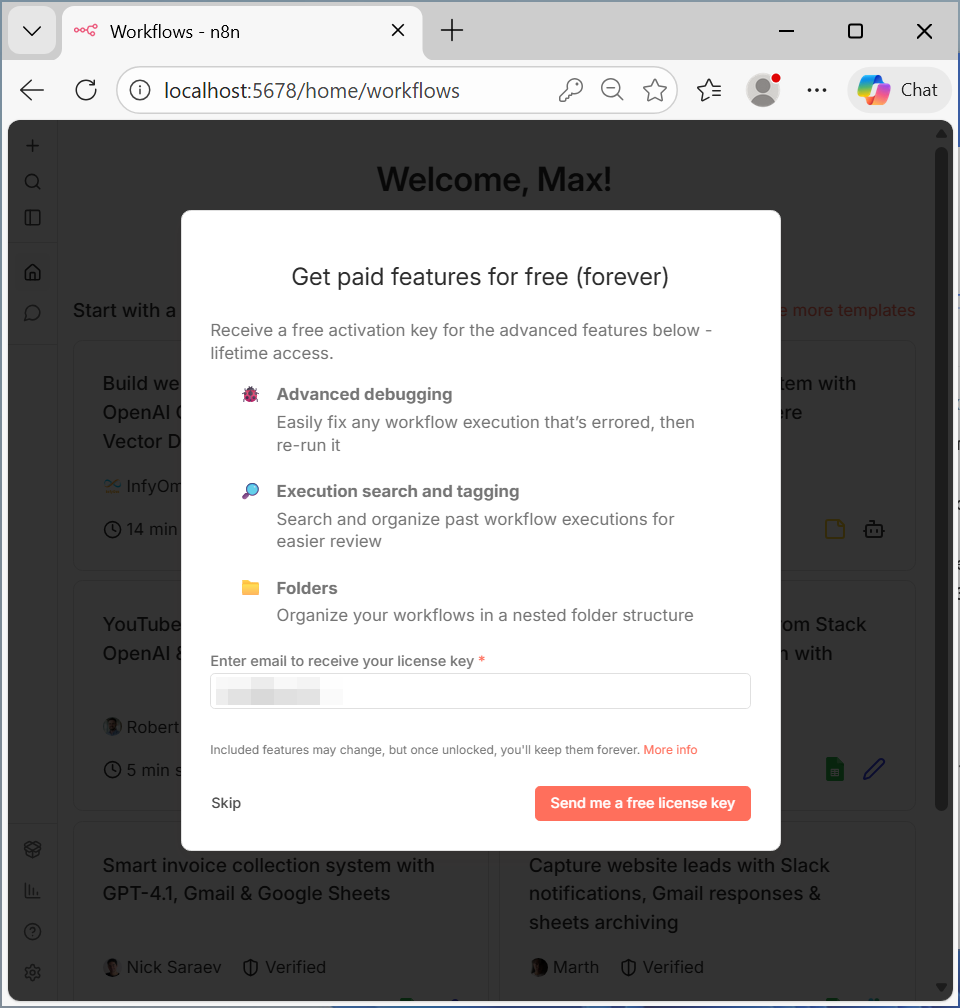
Optional: You can register the instance to get some additional features. You can skip this step and register the instance afterwards.
Congratulations! You are now running n8n community edition on your PC.
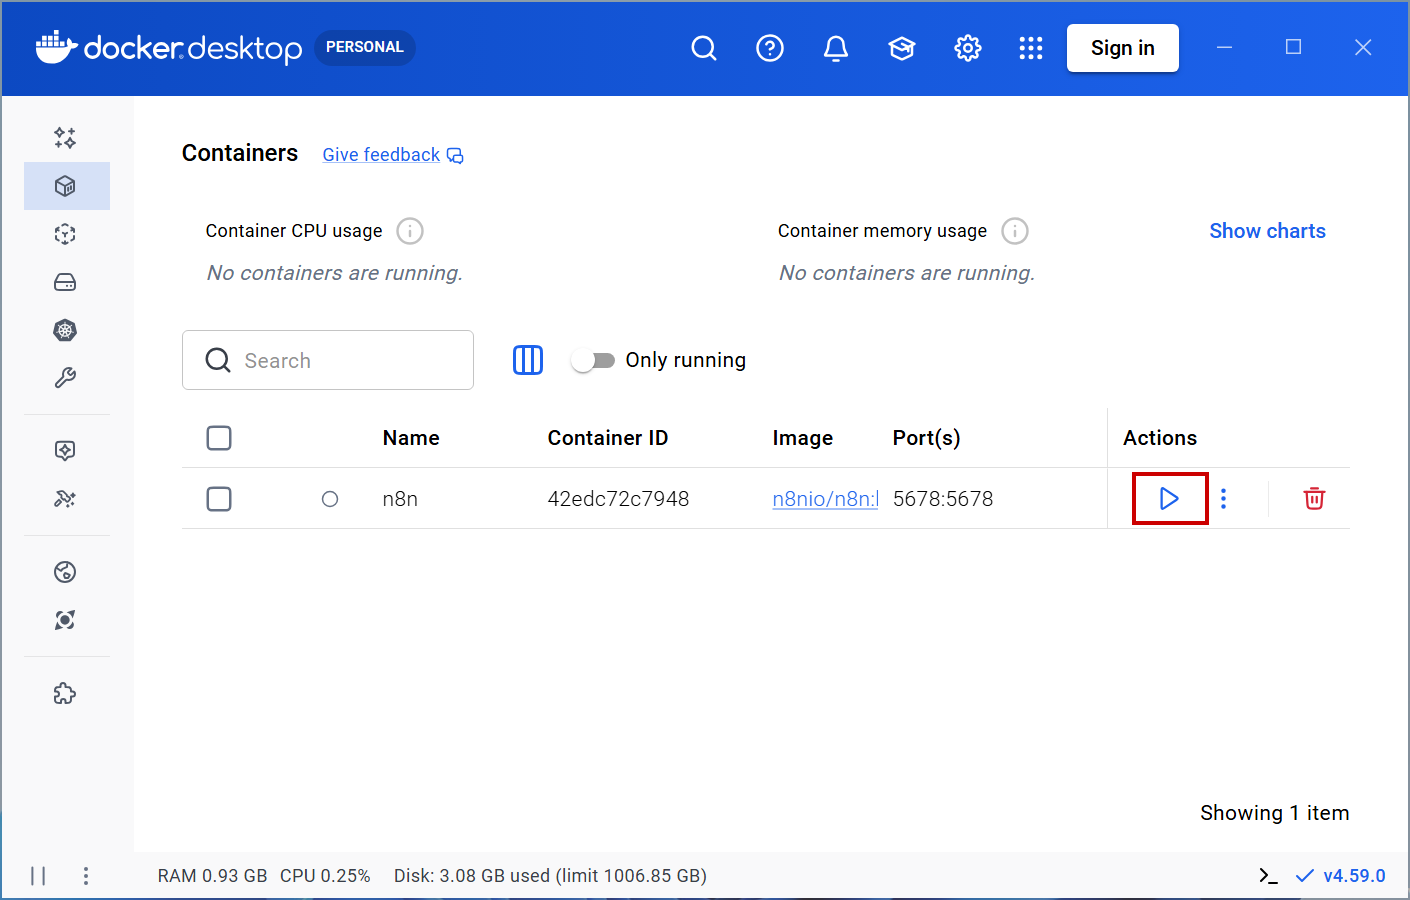
Managing the n8n container
Even if you close n8n in your browser, the n8n container keeps running in the background. You can keep it running or stop it to save resources.
If you want to restart your n8n instance (e.g. after rebooting Windows), go to Containers and click Start. You can then access n8n from http://localhost:5678.